
Making this English Muffin recipe isn’t difficult – your stand mixer does the kneading and you won’t spend a minute at the stovetop. It is precise, but it’s worth the effort, I promise. Take care when you make them to follow the instructions about temperatures and resting times and you’ll be rewarded with spectacular, Homemade English Muffins!
This post may contain affiliate links. Please read our disclosure policy.
When we lived in Seattle, we started the day with a Dahlia Bakery breakfast sandwich whenever we happened to be on that end of town before 10am. Sometimes we’d arrive at 10:15 and just shuffle past the window looking forlorn.
Not really. When that happened, we’d stop in for a salad, sandwich or cookie instead.
Anyway, we fell in love with the English muffins they made for those breakfast sandwiches and, for years now, I’ve wanted to try making them at home.
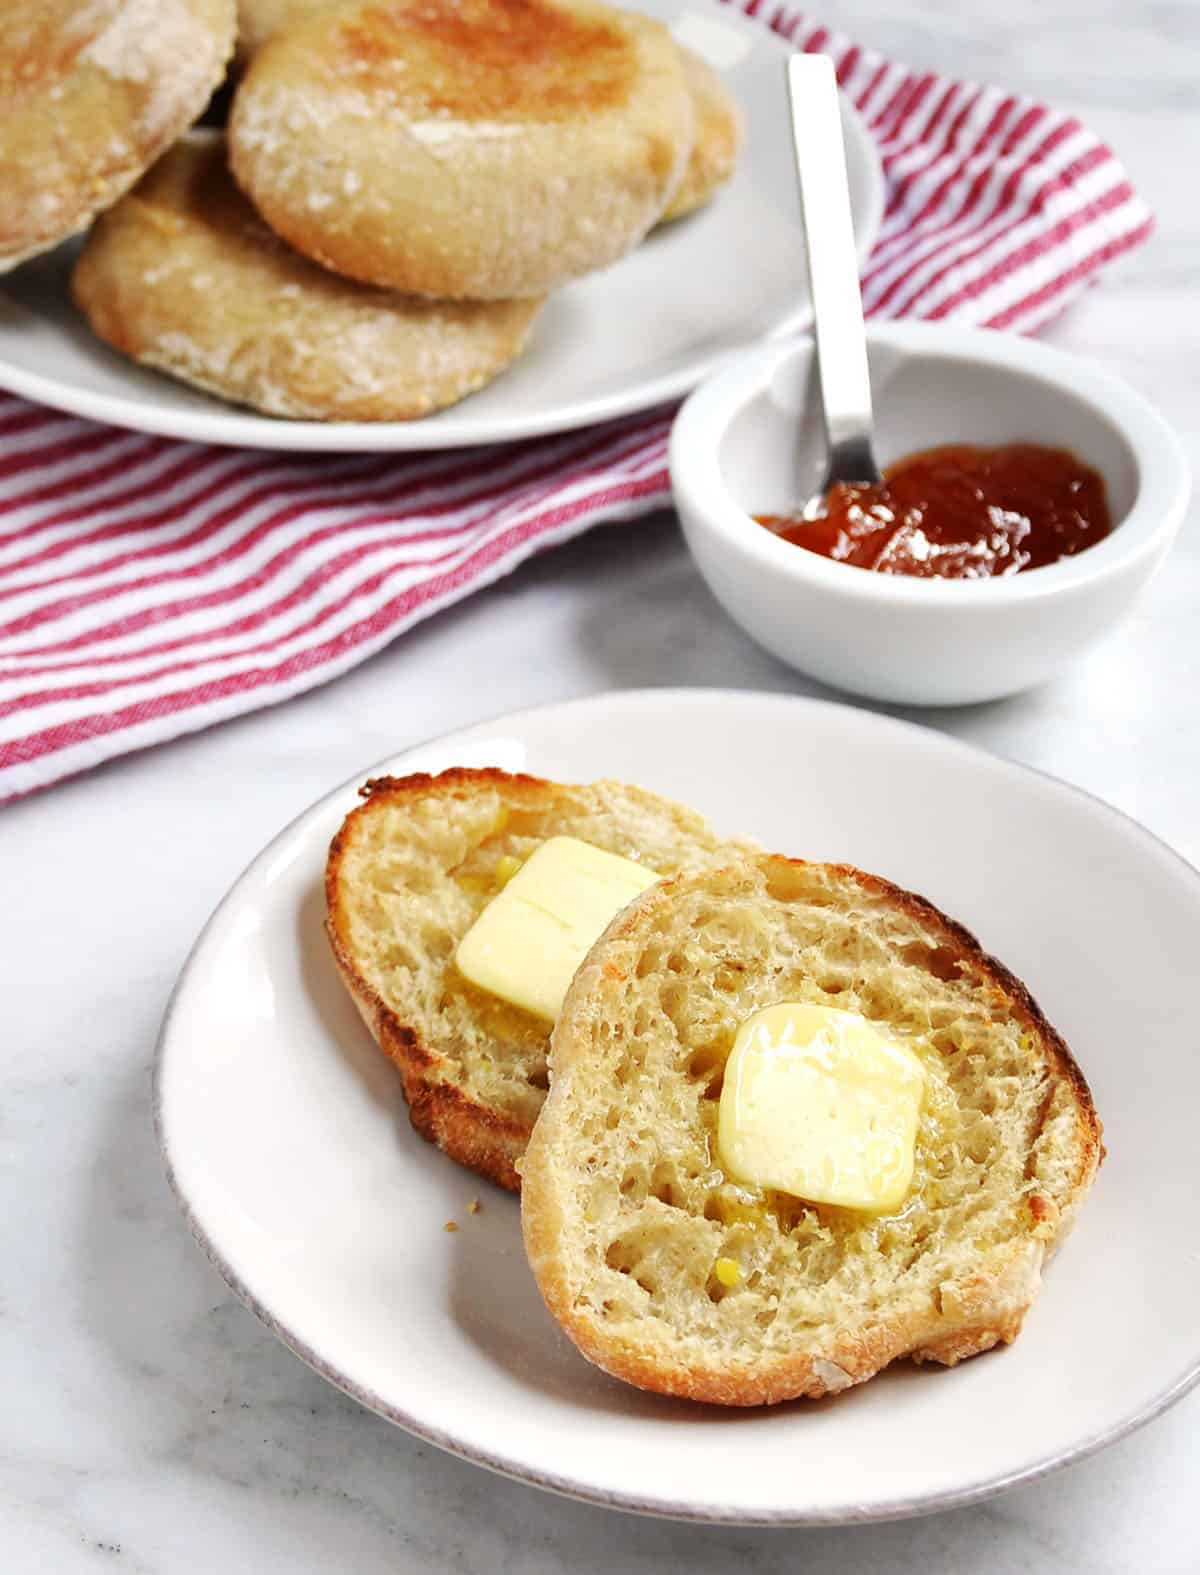
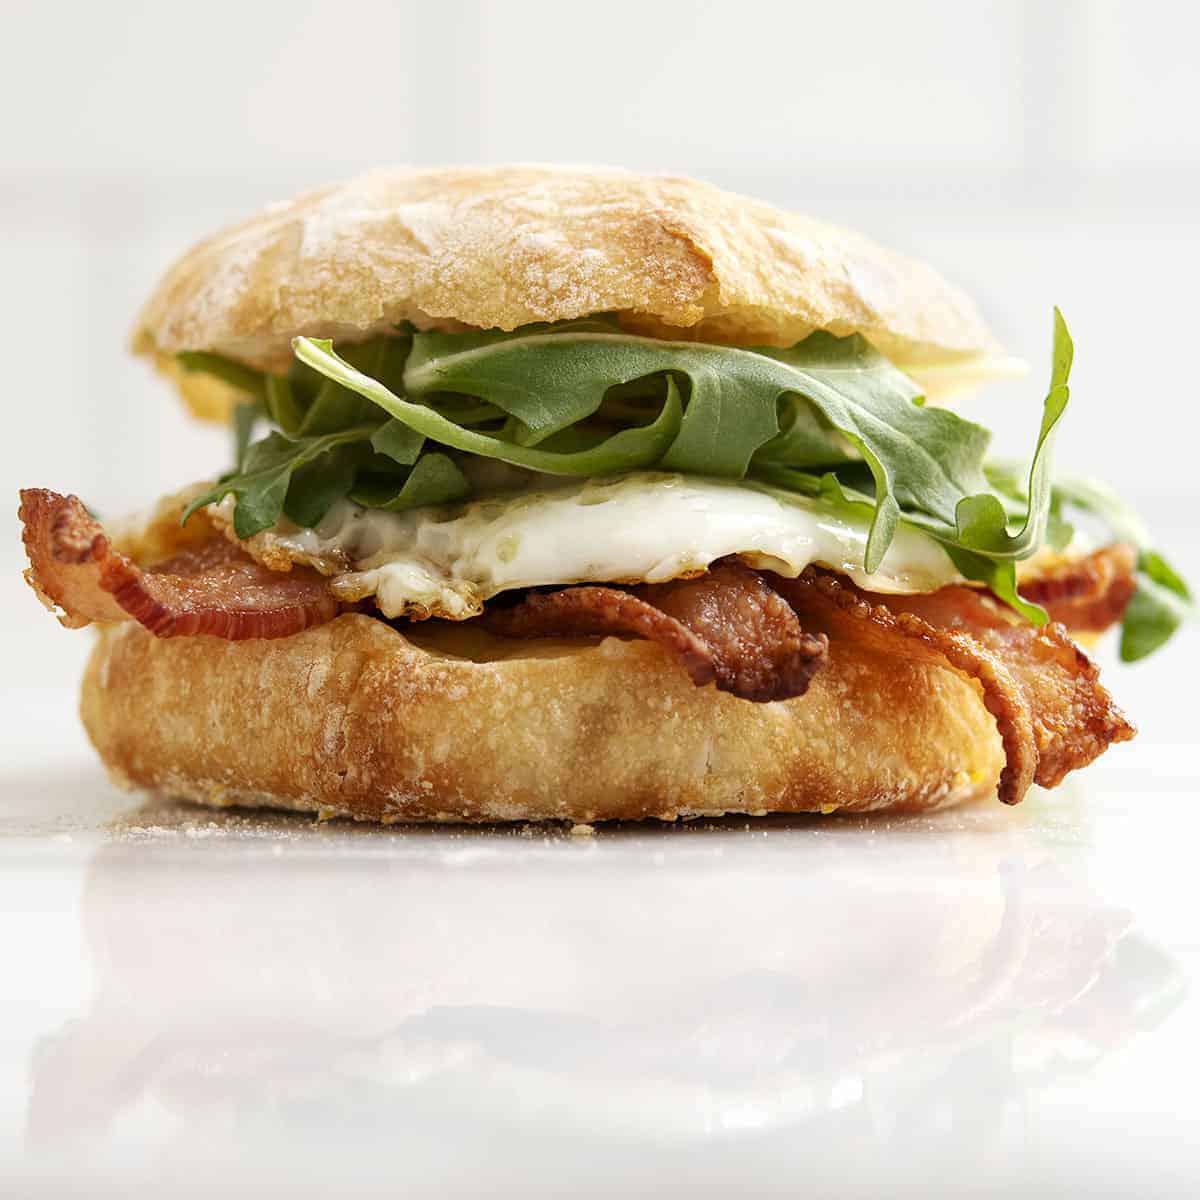
There are many English muffin recipes out there, but what I love about Dahlia Bakery’s version is how light and fluffy they are – impossibly so! Yet they maintain the nooks, crannies, crunch and chew that makes an English muffin, well, an English muffin. Pop these in your toaster until crispy and slather with butter or use for your favorite breakfast sandwich or as the base for Eggs Benedict.
More Delicious Breads and Quick Breads to Try
- Easy Brioche Buns (7 ingredients and 15 minutes of active time to make feather light, buttery rich brioche buns from scratch!)
- Sweet Potato Bread (A hearty, delicious twist on the Southern classic quick bread!)
- Homemade Biscuits (Tender on the outside and oh so flaky – my tried and true recipe.)
How to Make English Muffins:
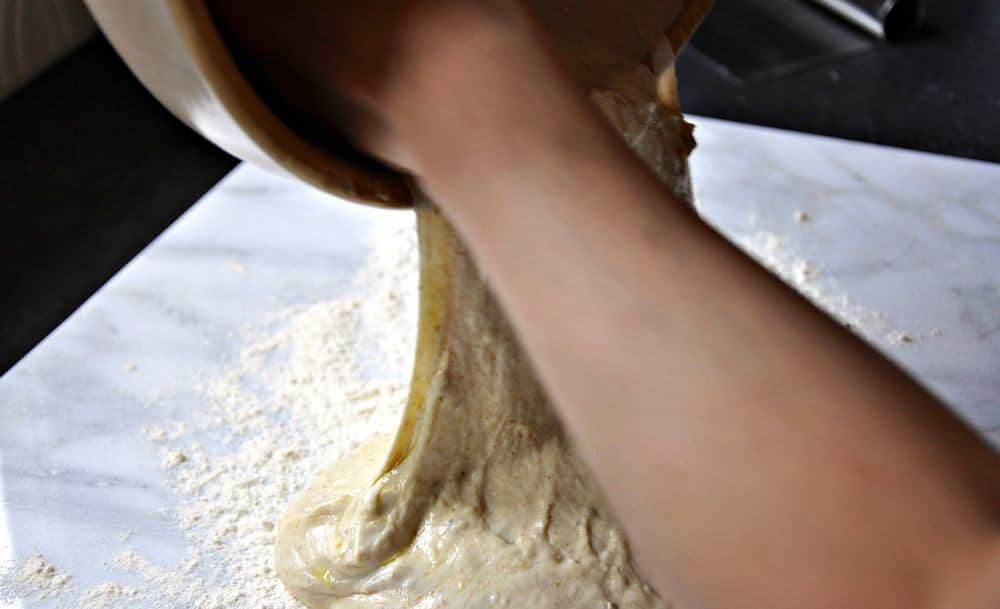
First the dough – it’s likely stickier and more pliable than most yeasted doughs you’ve worked with before.
Step 1: Once you’ve cooked, mashed and cooled your potato, you’ll mix and rest the English muffin dough and then mix again.

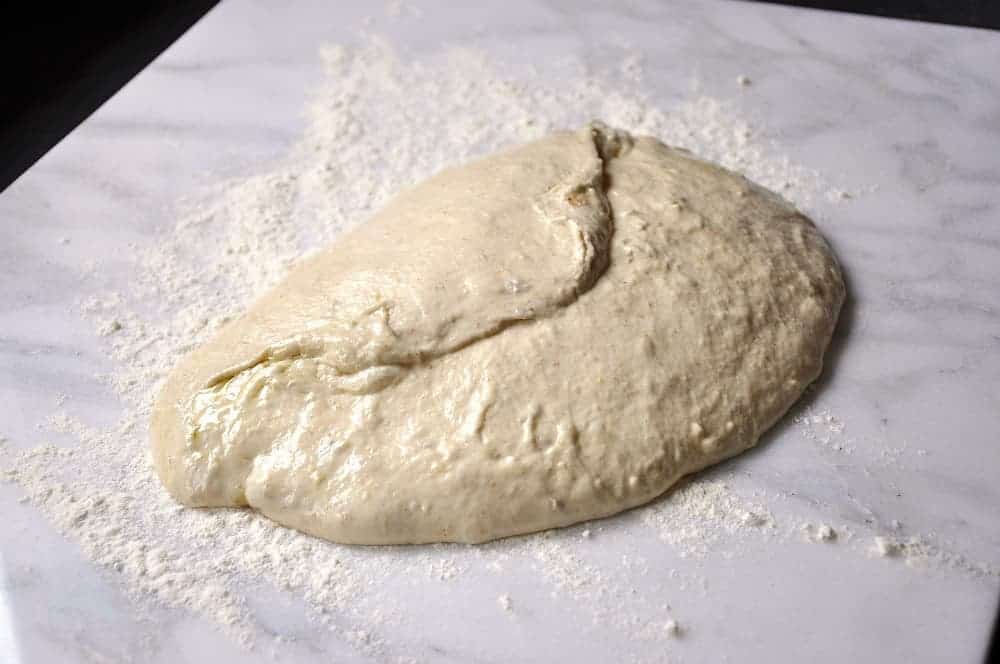
Step 2: Transfer dough to a large, oiled bowl and let dough rise at room temperature. You’ll rest and turn the dough a total of 4 times.

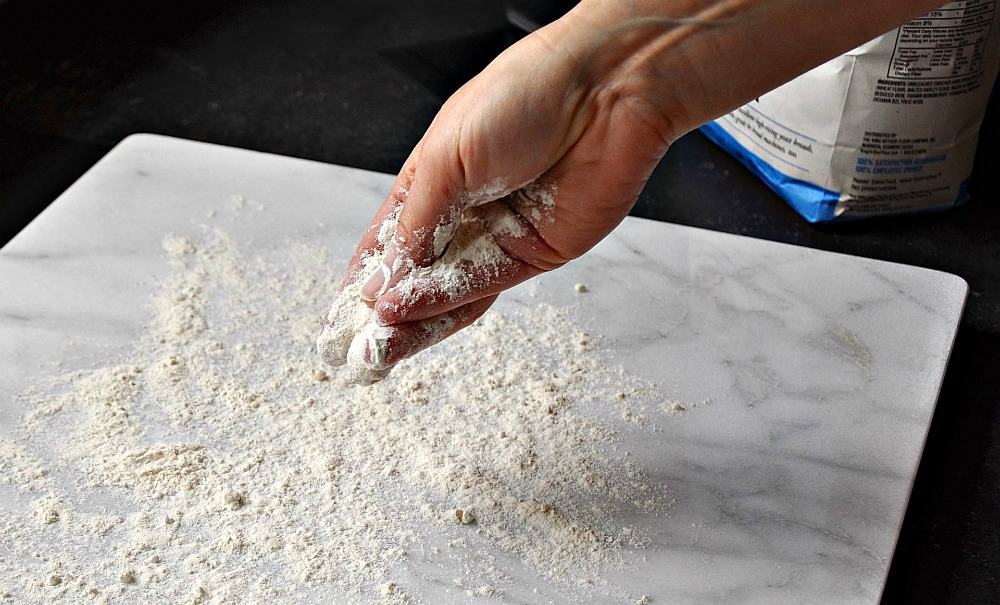
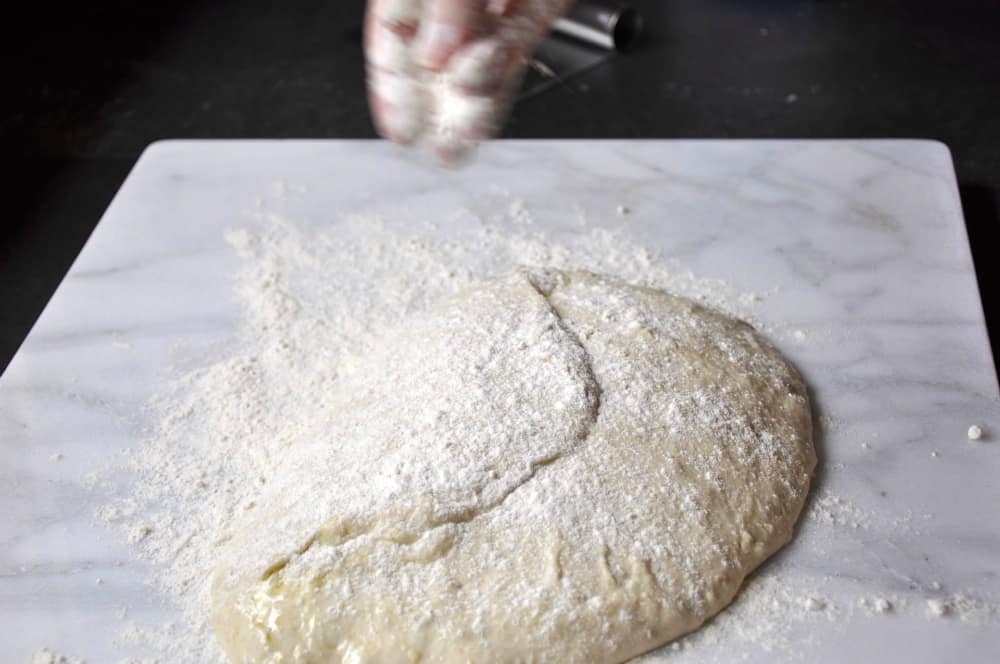
Step 3: Once the dough has risen, transfer it to a floured work surface – the dough will be soft and sticky. Then sprinkle the dough with flour.
Step 4: Line a baking sheet with parchment paper and sprinkle with flour and cornmeal. Divide the dough into 12 equal pieces with a bench scraper. With the palm of your hand, roll each dough portion into a ball on floured surface and transfer to prepared baking sheet, giving each ball plenty of room to rise.


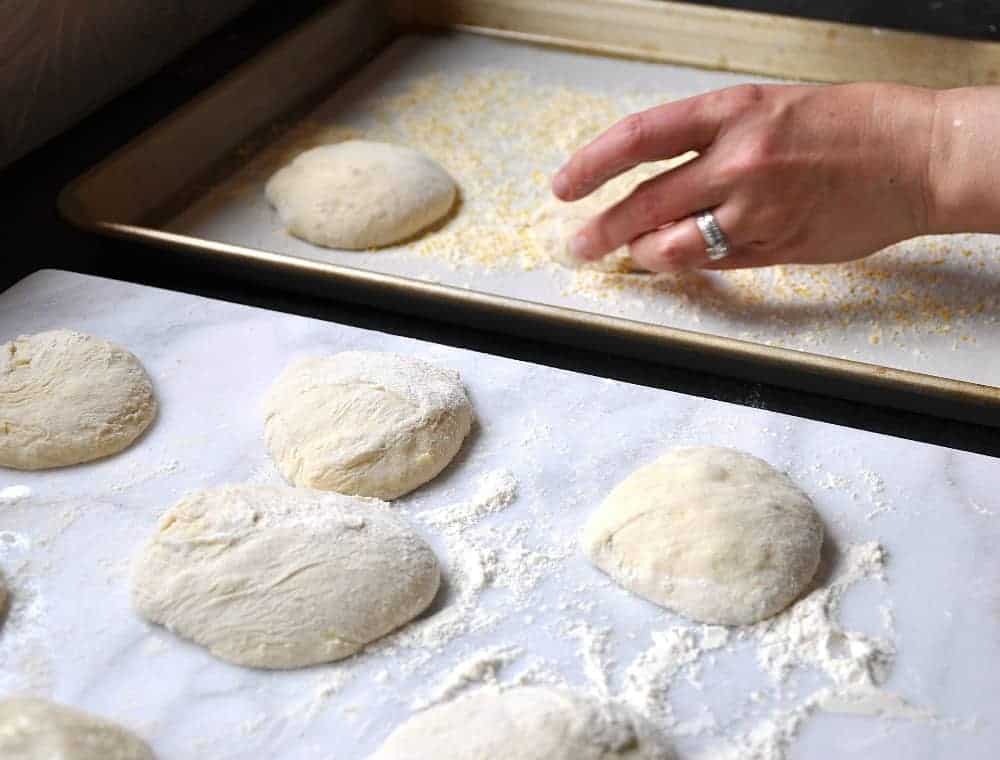
Step 5: Cover the dough balls with a clean kitchen towel and let rise until doubled in size. Bake for 8 minutes in a preheated 425°F oven, turn and bake 8-10 minutes more. Remove from oven and let cool for 30 minutes or more before slicing and toasting. Slather with butter and jam or, better yet, make English Muffin Breakfast Sandwiches!

Special Equipment notes: a stand mixer, a kitchen scale and an instant read thermometer help tremendously with this English Muffin recipe.

Video
Ingredients
- 1 medium Yukon Gold potato 140-160 grams
- 1 1/3 cups water ~68°F, cool tap water
- 3 cups bread flour 418 grams
- 1/4 cup whole wheat flour 28 grams
- 1 tablespoon honey
- 2 1/2 teaspoons kosher salt
- 1 1/4 teaspoons active dry yeast
- 1/3 cup water ~68°F, cool tap water
- olive oil for your hands and the bowl
- 2 tablespoons all-purpose flour plus more for dusting work surface
- 2 tablespoons cornmeal
Instructions
- Scrub and then cut potato it into 1-inch chunks. Put potato into a small saucepan; cover with cold water. Bring to boil; reduce heat and simmer until the potato is tender, 10 to 12 minutes. Drain potato and transfer to a small bowl. Using a potato masher or fork, mash the potato. Scoop mashed potato into a 1/2 cup dry measure and place in refrigerator to cool. When potato is completely cool, begin dough.
- Pour the first portion (1 1/3 cups) of ~68°F warm water (use a thermometer to check) into bowl of a stand mixer fitted with the dough hook attachment. Add both flours, cooled potato, honey, salt and yeast. Mix on low speed for 10 minutes. At this point you should have a soft, sticky dough wraps around the dough hook. Scrape down sides of the bowl with a rubber spatula, and allow the dough to rest for 5 minutes.
- Once the dough has rested, turn mixer to medium speed and mix dough for another 2 minutes. With the mixer running, slowly add the second portion (1/3 cup) of ~68°F water about 2 tablespoons at a time. Be sure to wait until each addition of water is absorbed before adding more. When all of the water has been added, let the dough mix for another 2 minutes. Your dough should be smooth and shiny. Take the temperature of the dough with a kitchen thermometer; the dough must be between 75°F and 80°F.
- If the dough is cooler that 75°F, place it, covered, in a warm place for a little while and check the temperature again.
- Place the dough in an oiled large bowl. Roll and flip it over into a ball, then cover the bowl with plastic wrap. Place bowl in a room temperature (68-70°F) place and let rest for 30 minutes. After the 30-minute rest, it's time to “turn” the dough. Rub oil on your hands (the dough is sticky!) and reach to far side of the bowl, grasp the dough with your hands and pull straight up as far as the dough will stretch without breaking and fold the dough over itself. Give the bowl a quarter turn and repeat this process for a total of 4 times. Turn dough over, cover with plastic wrap, and let it rest at room temperature for another 30 minutes. Again, “turn” dough with oiled hands as described above, working your way around the circumference of the dough for a total of 4 times. Cover the bowl, return it to the room temperature place, and let it rest for an hour (which adds up to 2 hours total resting time). The dough should be sticky, bubbly, and active.
- At this point you can either finish making the English muffins in a single day or cover the bowl of dough with plastic wrap and refrigerate overnight.
- When you’re ready to shape and bake the English muffins, whisk together the 2 tablespoons flour, and 2 tablespoons cornmeal in a small bowl. Line two baking sheets with parchment paper and dust them with the flour-cornmeal mixture.
- Now place the dough on a generously floured work surface. With a floured metal bench scraper or floured knife, cut the dough into 12 equal pieces. To shape each muffin, roll each portion of dough firmly between the palms of both hands (you may need to flour your hands).
- Place 6 English muffins on each prepared baking sheet, leaving some room around each one and spacing them out evenly. Cover rolls of dough with clean kitchen towels (flour sack towels work wonderfully) and put them in a room temperature place until they have doubled in size, 1 hour to 1 hour and 45 minutes if the dough has not been refrigerated and 2 to 2 1/2 hours if it has.
- When the dough balls have doubled in size, they will feel a little less sticky to the touch. And when you press gently on the dough, it will feel light and airy, not dense and you may see some bubbles. Preheat oven to 425°F.
- Bake muffins for 8 minutes then remove pans from oven and flip each muffin over. Firmly pat each muffin with your hand to flatten it slightly–but do it quickly and be careful of the hot steam. Rotate pans and return to oven, switching them between the racks. Bake muffins until they are golden brown and baked through with a few browned patches, 8-10 minutes more (16-18 minutes total baking time).
- Remove pans from oven and cool on a wire rack for at least 30 minutes (torture!), then slice each English muffin in half crosswise and toast. Serve with butter and jam or better yet as a breakfast sandwich!
Notes
Nutrition
Nutrition information is automatically calculated, so should only be used as an approximation.


I’ve been dreaming about replicating this Dhalia Bakery English Muffins for years! Do they freeze well? Should I freeze them after baking or par-cooking them?
Hi Karen! Yes, they freeze very well. I recommend baking and cooling completely before freezing. Enjoy!
Make these all of the time and they are amazing! They are a bit of work, but they are definitely worth it. We freeze them and toast them.
That’s wonderful to hear, Shawn! Thank you for coming back to let me know.
Marissa, we LOVE English muffins. There were a family favorite growing up. 🙂 These look perfect, with just the right amount of nooks & crannies for the butter to melt into. ~Valentina
Thanks so much, Valentina!
I’ve got to get in the kitchen and bake a batch Marissa! They look better than store-bought for sure! Can’t beat the nooks and crannies of an English muffin!
aww…thanks, Mary Ann! They are SO much better than store bought and yes to nooks and crannies!
3 years have passed since my previous comment, but I still have not tried them! They look so delicious – I’d love a buttered English muffin right now. I also would never have thought they require some attention and process to follow; I thought they are as easy to make as biscuits.
Time to try them, Ben! 😉 I promise you won’t be disappointed.
You’ve inspired me to get in the kitchen and make a batch of homemade English muffins! I used to make a homemade version before Robbie was born, but I’ve strayed towards the storebought ones in recent years. Enough of that. Thanks for the inspiration to start making these at home again!!
Yay! I’m so excited for you to try these, David.
Hi Marissa,
Thanks so much for posting this. I’ve been searching for the right recipe to get the English muffins I wanted and these are IT! So many other recipes gave me dense thick muffins, but these are perfectly light and airy. I was so impressed, I followed the link and bought the Dahlia Bakery cookbook, thank you for that link!
You made my day, Steve! So glad you enjoyed these! The Dahlia Bakery Cookbook is a gem…
Some tweaks..milk, or 2% milk for liquid, substitute 1/3 or 1/4 cup potato flour (not starch) for the potato, 3-4 tablespoons of melted butter mixed thoroughly into the dry ingredients (really helps keep a light, fabulous texture, this technique of really beating the butter or oil into the flour first (really let the mixer beat it in until you can’t even see it) makes the finished product unbelievably soft, I stole it from a soft breadstick recipe) and one tray I didn’t squash down, I did 425 for the first eight minutes, didn’t open the oven at all, just reduced to 380 for eight more minutes. Unbelievably light hamburger or sandwich type buns, the milk, butter and potato giving beautiful colors.
So glad you enjoyed the recipe and added your own twists!
Oh man, I’m a sucker for a good English muffin! It’s surprising how easy these are to make at home, too. I’ve made batches before, but man it’s been years. (I think the last English muffin batch was before Robbie was born!) Now I have to admit that I’ve never made English muffins with potato, but I can see how it would work well. I’ll have to give this recipe a shot soon…looks delicious!!
I MUST try these! Our grocery store puts the English muffins out on the shelf and I caught them one day – THEY ARE FROZEN and thaw during the day and then I was taking them home and putting them back in the freezer. I usually make buttermilk biscuits for our breakfast sandwiches, not I’ve gotta try these.
I’m curious if I could make them the night before, divide and place on the sheet, then into the fridge. I’d pull them out to rise in the morning and not have to do anything but bake them. What do you think?
Hi Shelly! I haven’t tried that, but I want to! If you try it, will you let me know how it goes?
I made them this morning from scratch and we just had the most delicious bacon, egg, tomato, avocado and cheese sandwiches! Will definitely make these again! Thanks for a fabulous recipe!
That’s fantastic, Shelly! Thank you so much for coming back to let me know!
You’re right Marissa – these muffins have a spectacular texture; so light, fluffy, and airy. I’ve never made English muffins, and I didn’t know the recipes (or perhaps some of them) call for potatoes. Now I’m craving this muffin with some maple bacon and egg (definitely with a runny yolk) 😉
aww, thank you Ben! I’m craving one of those too!
Wow! These look amazing Marissa! All those nooks and crannies…fabulous job!
Thank you, my friend!
I so love English muffins, but have never made them before, so this is fantastic! thanks for all great tips on making these beauties
Thank you so much, Albert!
I’ve never added potatoes to English muffins. OK, you state the water temperature is very important but you do not
say what the appropriate temperature is. And I assume that total water is 1 2/3 cups.
Thanks
Thank you for catching that, Carole! Yes, to the 1 2/3 cups – I’ve added it as two lines to the recipe according to when it’s added. The water temperature should be ~68°F, cool tap water.
I’m absolutely making these Marissa! There are many recipes, but few achieve the holes inside like yours. I have the Dahlia Bakery cookbook, need to start using it more!
Do it, Paula! I bet yours will turn out even better than mine because you are QUITE the baker, my friend!