
If you have milk, heavy cream, and sugar in your kitchen, you can make Homemade Sweetened Condensed Milk that’s far better than anything from a can. I discovered this recipe when I wanted to make coconut macaroons, but didn’t have any sweetened condensed milk on hand. What I did have was BraveTart: Iconic American Desserts by Stella Parks, , and it turned out to be exactly what I needed.

This post may contain affiliate links. Please read our disclosure policy.
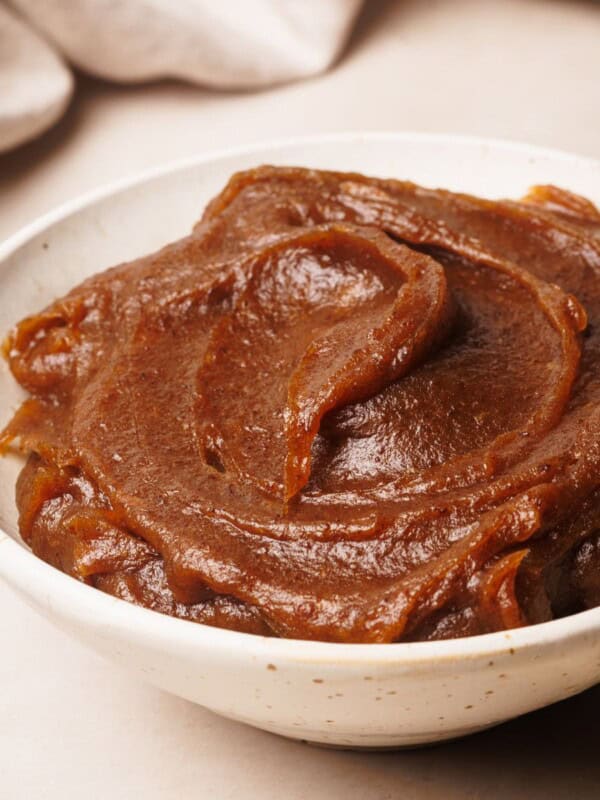
As you’ve guessed, she included a very precise sweetened condensed milk recipe. What a revelation this recipe turned out to be! Maybe it’s the heavy cream in addition to the milk (which helps keep the mixture from curdling), but the texture and, more importantly the flavor, is far superior to any store bought version. I chose not to add any aromatics like cinnamon or vanilla bean, but I may in the future for making no-churn ice cream or some other treat.
Table of Contents
Ingredients for Sweetened Condensed Milk
- Whole Milk: Don’t try to substitute lower-fat milk here – the fat content is essential for proper texture and richness.
- Heavy Cream: This helps prevent curdling and creates a silky-smooth final product. Make sure it’s heavy cream, not half and half.
- Granulated Sugar: Regular white sugar works perfectly – no need for anything special.
- Kosher Salt: Just a tiny amount enhances all the flavors. This recipe is precise – weigh your ingredients if you can.
4 Recipe Tips
- Watch your simmer time: I found that it took a bit longer on my stove for the mixture to reduce by half, but appreciated Stella’s advice to pay attention to how long it takes your dairy mixture to come to a simmer: shorter than 12 minutes, turn the burner down slightly; longer than 12 minutes, turn it up slightly.
- Choose the right sweetener: Stick with regular granulated sugar. Other sweeteners like agave, maple syrup, honey, or brown sugar can make the dairy curdle due to their acidity.
- About measuring: The version of the recipe I’m posting here is slightly simplified from the original, skipping the instruction to weigh on a digital scale before and after simmering. You can certainly go that route if you like and will find her instructions to do so here.
- Check your reduction: The mixture will suddenly turn foamy when it’s reduced by half. Keep stirring until the foam subsides, then measure to make sure you have exactly 2 cups.
Evaporated Milk vs. Sweetened Condensed Milk
Sweetened condensed milk and evaporated milk are not the same. Both are heated until reduced by about half of their original volume, evaporating off water content. But evaporated milk is not sweetened and can’t be used in recipes interchangeably.
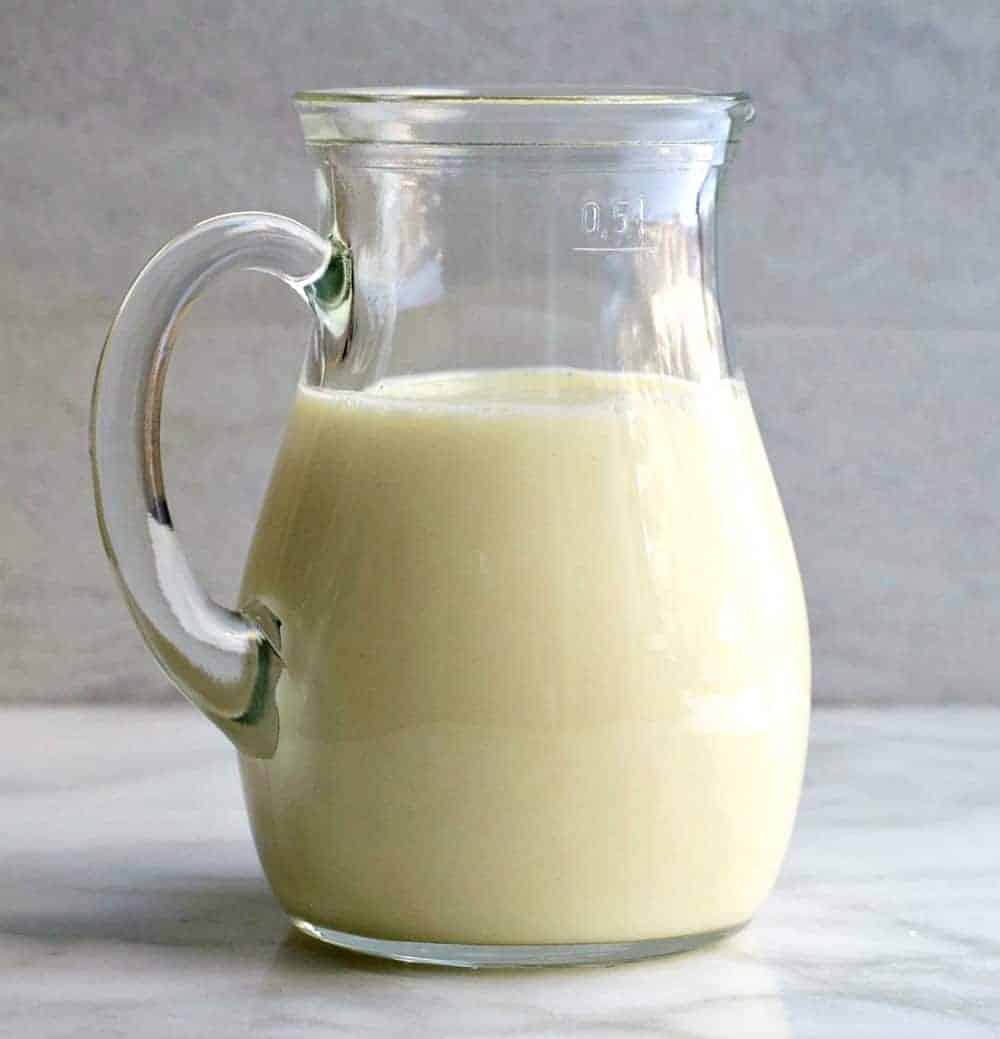
Once you’ve made your own sweetened condensed milk, it’s hard to go back to the store-bought version. The superior flavor and silky texture make it worth the effort. There’s something so satisfying about creating this kitchen staple from scratch – especially when you taste how it transforms other desserts, from macaroons to no-churn ice cream.
More Better-Than-Store-Bought Recipes


How to Make Sweetened Condensed Milk
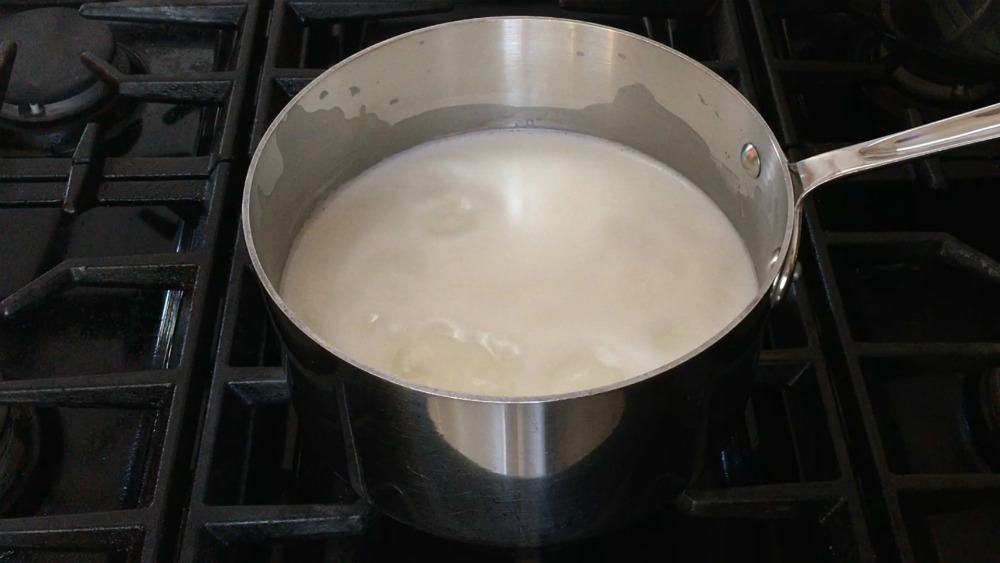
Combine milk, cream, sugar and salt in a saucepan over medium heat; bring to simmer, about 12 minutes.
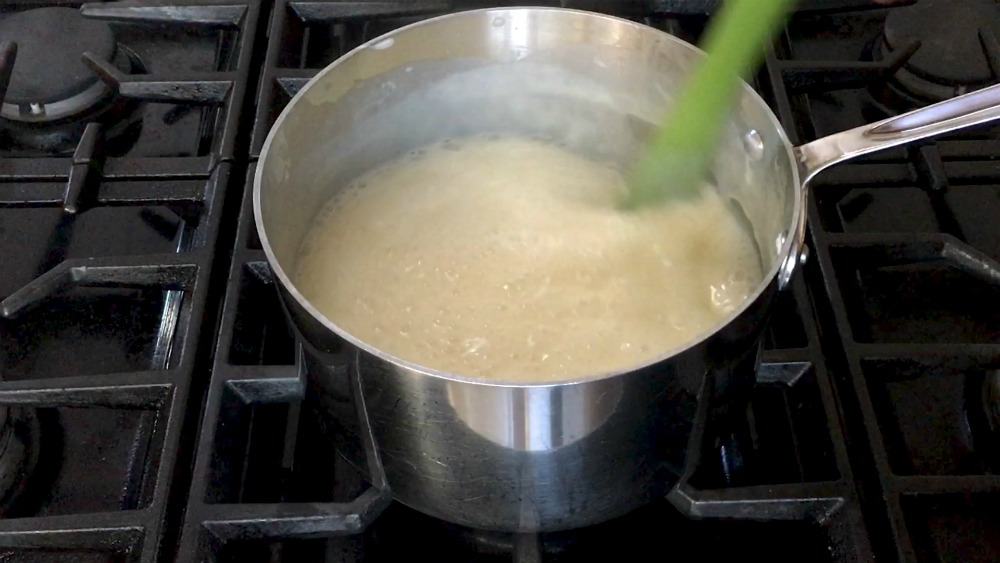
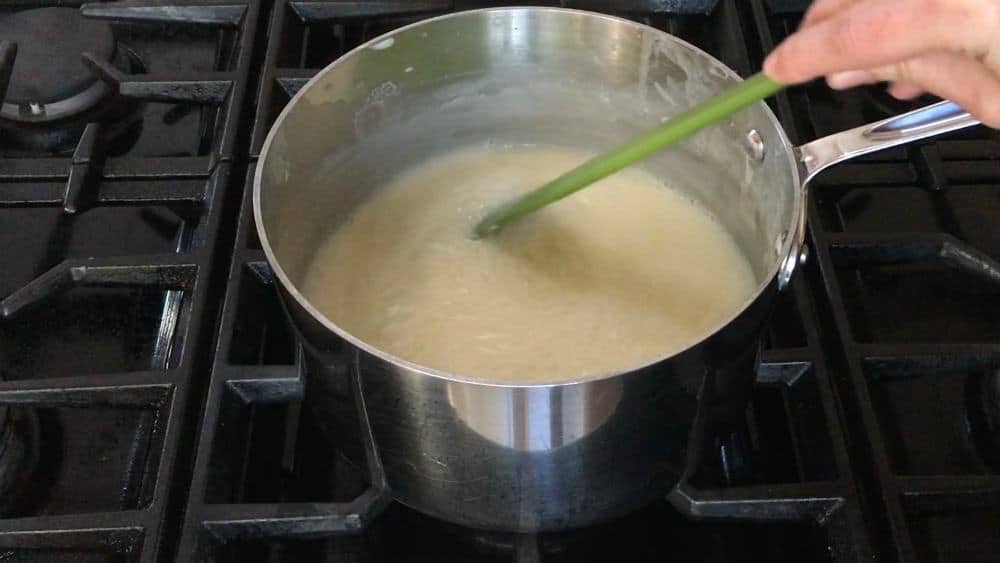
Stir and simmer until mixture has reduced by half, about 30 minutes more. It will foam suddenly just before it’s finished. Let the foam subside and transfer to an airtight container. Let cool completely; refrigerate for up to a month. Bring to room temperature before using.


Video
Ingredients
- 4 cups whole milk 32 ounces
- 3/4 cup heavy cream 6 ounces
- 1 cup granulated white sugar 7 ounces
- 1/8 teaspoon kosher salt
Instructions
- In a 5-quart saucepan, combine milk, cream, sugar and kosher salt. Place on stovetop over medium heat; stirring occasionally with a silicone or other heat resistant spatula. The mixture should begin to simmer at about 12 minutes, if much faster, reduce heat slightly; much slower, increase heat slightly.
- Stirring constantly, simmer for another 30 minutes, scraping the sides often. When the mixture has reduced by about half it will suddenly turn foamy. Keep stirring until the foam subsides and pour mixture into a glass measuring pitcher. You should have 2 cups, if less, you can top with milk and blend to emulsify. If you have more than two cups, return to pan and continue to simmer until reduced to 2 cups.
- Store in a sealed, airtight container in the refrigerator for up to a month. Bring to room temperature before using.
Notes
- This makes about 2 cups, or 16 2-tablespoon servings.
Nutrition
Nutrition information is automatically calculated, so should only be used as an approximation.


The instructions say to mix sugar in with the other ingredients. Yet the intro says not to add sugar. Which is correct? I favor going with the instructions andI will try Swerve sugar substitute. Thanks for a great recipe? IOn the internet I got a recipe for ice cream using only 2 ingredients, one being sweetened condense milk. Will try this recipe, then that one. I will use the swerve to avoid sugar (it’s a naural sugar substitute superior to stevia).
Hi, John. You do mix the sugar in with the other ingredients. The note on sugar replacements comes from Stella (the author of the cookbook that this recipe is adapted from) where she warns against using anything but white sugar as it may cause the dairy to curdle.
I just need one cup of sweetened condensed milk. Can I half the recipe to make just one cup?
Hi, Jill. I haven’t done it myself, but I don’t see why not. My guess is that it will not take nearly as long to cook down. Let me know how it goes!
Okay I will. Thanks!
It worked great. I still cooked it for 30 minutes but I ended up with just a little less than 1 cup. It tastes way better than the can!
That’s fantastic, Jill! Thank you for coming back to let me know!
I have a recipe that I make on a regular basis that uses sweetened condensed milk. The canned version can be ridiculously expensive over time, so I decided to try this recipe.
It tastes amazing. I went well over the 45-50 minutes of cook time. Perhaps you should bold and underline the part about reducing down to two cups. Knowing that was what I was aiming for kept me going. Low and slow created a beautifully slightly caramelized result. Standing over the stove stirring for an hour was a wee bit tedious, but the end product was beyond delicious.
I’m so glad it turned out so well, Lela! It’s incredible how different stovetops can be, but you’re right, getting the mixture to reduce to 2 cups is key which, on some stoves, will mean a good arm workout. 😉
Ooh you’re brilliant Marissa! Sometimes I need it but I don’t have it in the pantry so this would be perfect to have handy in case I have run out.
Yay! Thank you, Lorraine!
Can this be made with a sugar substitute? Diabetic
Hi Pete – that’s a great question, but I honestly don’t know. If I were to try it, I would evaporate just the dairy and bit of salt and then sweeten it afterwards to taste. But I’m not sure how it will behave as an ingredient in recipes. If you try it, I’d love to hear how it goes.
I cannot tell you how many times I’ve needed sweetened condensed milk and have nothing in the pantry. And now I know I probably already have everything on hand for homemade!
That’s fantastic, Kevin!
Homemade sweetened condensed milk…mmm I do believe you that it’s much better than from a can. I only made dulce leche from condensed milk at home before, and I’m really excited to try this recipe.
So much better! Thank you, Ben. 🙂
Hey Ben, may I come cook with you?
Thanks so much for sharing this Marissa! I often come across a recipe that includes sweetened condensed milk and I usually never have it on hand. So good to know I can make it myself!
I’m the same way, Mary Ann. I was excited to discover how easy it is.
Great to have this recipe for a baking staple in my back pocket! Pinning!!
Thank you, Liz!
Some of my favorite recipes use sweetened condensed milk, and I’ve always been tempted to try making it myself, but was a little too intimidated. I think I need to give it a try now! Pinned!
Yay! You’ll find it’s really simple, Tracy. 🙂
This is absolutely BRILLIANT, Marissa! I have never even thought of making my own sweetened condensed milk before… probably because I’m blonde. Lol. I bet this tastes a million times better than the store bought stuff in a can!!! It looks super creamy and perfectly rich! I can’t wait to try this!!! Pinned! Cheers!
You are too kind, my friend! Thank you!
This is brilliant! I’ve never thought to make my own sweetened condensed milk even though I love making my own everything (except pie crust, ugh). I’ve had BraveTart on my list for awhile now but I’ll have to check it out sooner rather than later!
haha, pie crust is one of those things that can make or break your day! Definitely check out BraveTart – it’s honestly a masterpiece.
Homemade sweetened condensed milk? How awesome is that?? Looks super creamy! I’ll have to check out that book – sounds like a pretty great one 🙂 Hope you have a lovely upcoming weekend, my friend! XO
So creamy! That little bit of heavy cream makes all the difference + keeps the mixture from curdling, bonus! You have a great weekend too my friend!
Interesting! I’ve never even thought about making my own condensed milk, but I’ve got to say that I’m intrigued now. I like to try my hand at making stuff at home all the time, so I need to put this one on the list. Plus, I’m ALL about a book that gives the science behind the recipes. Sounds interesting!
You’re always so good about researching things, I’m not surprised to hear that you like science-y cookbooks! I’m reading Salt, Fat, Acid, Heat right now, another one that would be right up your alley. 🙂
Hah! You were right. I should have looked at this post before making my ice cream – now you know what to do with any extra condensed milk 😉 I love the idea of making my own. It looks so easy. Pinned!
Now I’ve got to make that lovely Matcha ice cream of yours!!