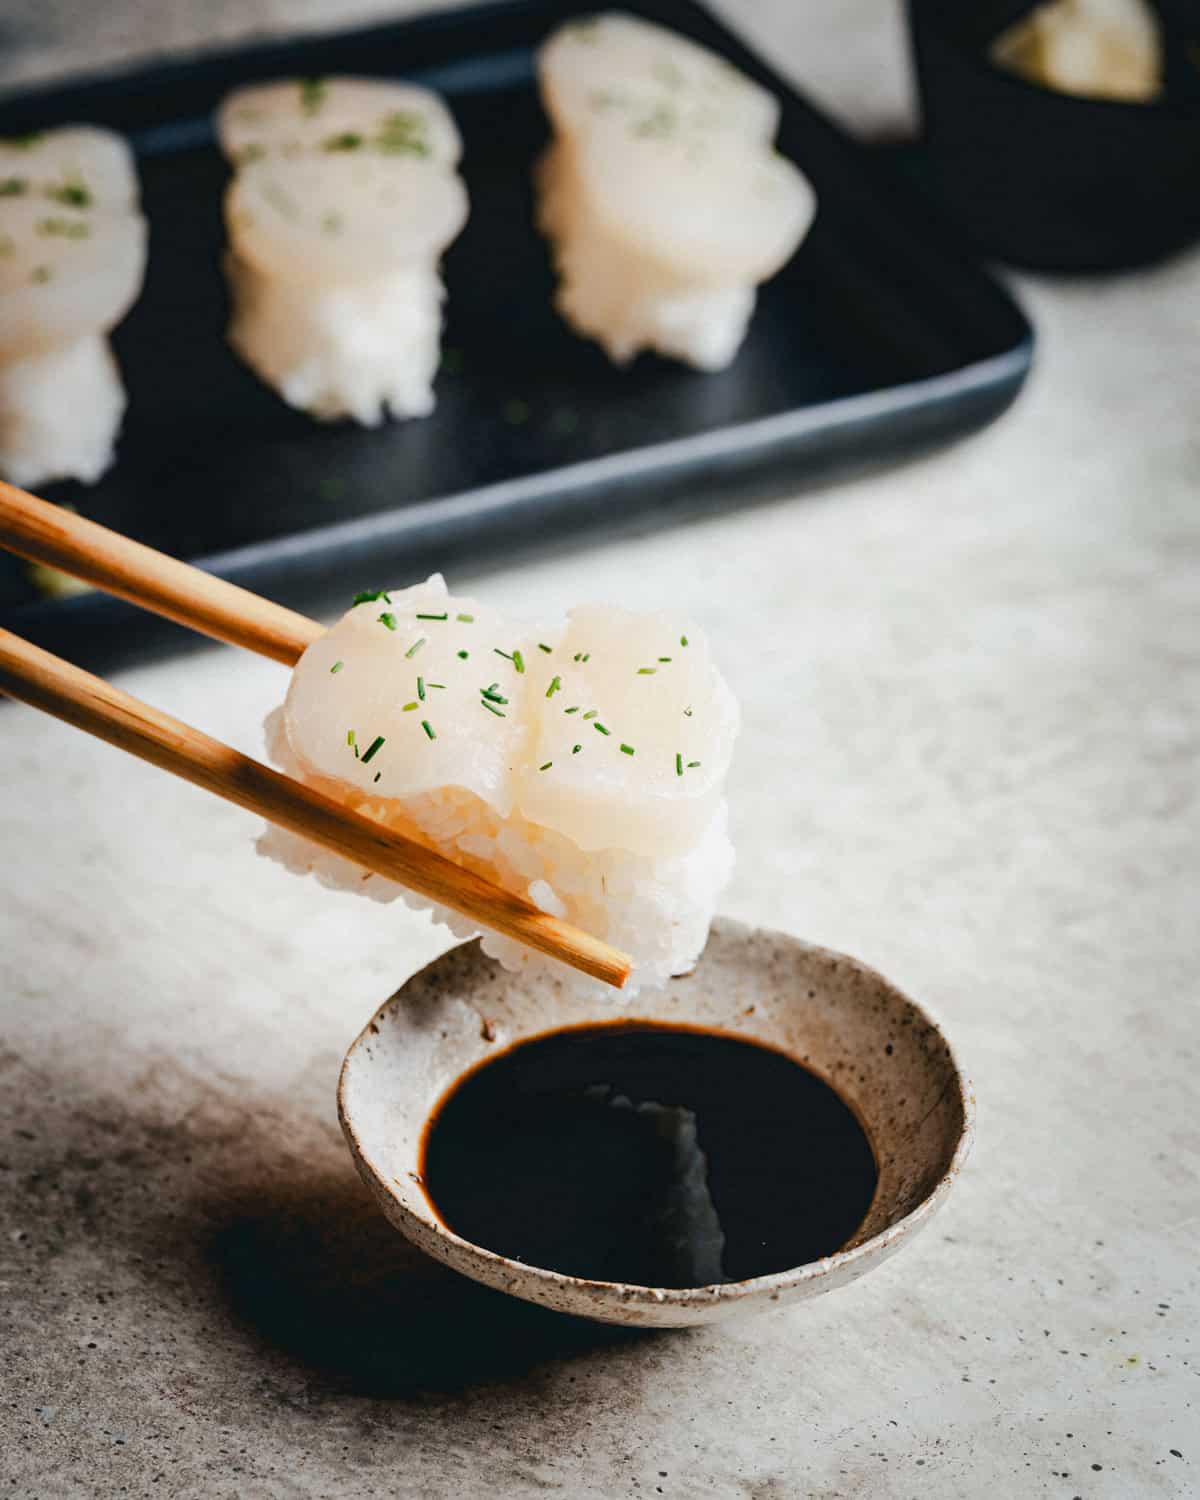
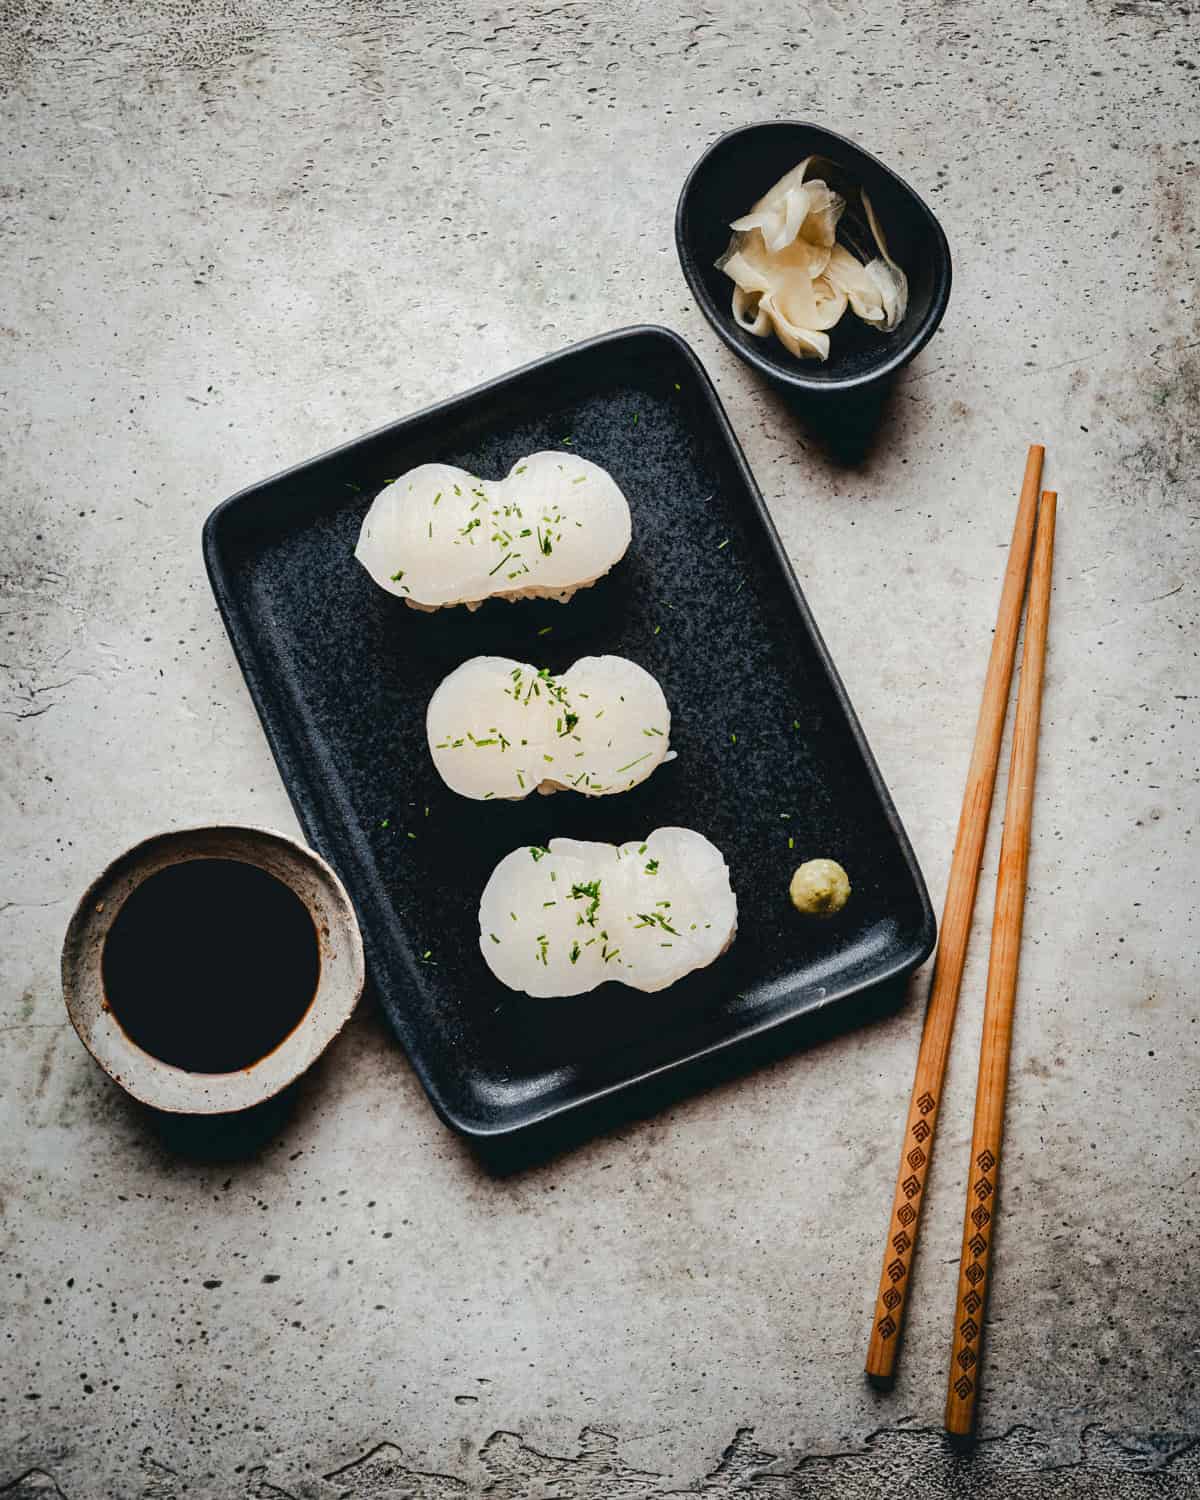
With just 30 minutes and a few ingredients, Scallop Nigiri brings a sweet, buttery twist to homemade sushi. No special equipment or rolling skills required.
This post may contain affiliate links. Please read our disclosure policy.
Making Scallop Nigiri at home is easier than you might think. I love the sweet, buttery flavor of scallops over carefully seasoned rice. And it’s a great way to impress friends and family with something surprising instead of the usual appetizers. Other than a few ingredients you can find at any grocery store, you just need two things: fresh, sashimi-grade sea scallops (the larger “dry” scallops work best) and a very sharp knife that can slice through them cleanly.
The scallop slicing and rice-shaping techniques are simple, and I’ve included step-by-step photos and a video to help you get it right the first time. What I’ve found is that making nigiri at home becomes less about the meal itself and more about enjoying a different kind of cooking experience. It’s a nice break from the usual dinner routine and the payoff is much more than the effort.
Table of Contents
Recipe at a Glance
- Hands-on time: 30 minutes
- Total time: 55 minutes
- Yield: 10 pieces
- Skill level: Beginner-friendly
- Bonus: No rolling required
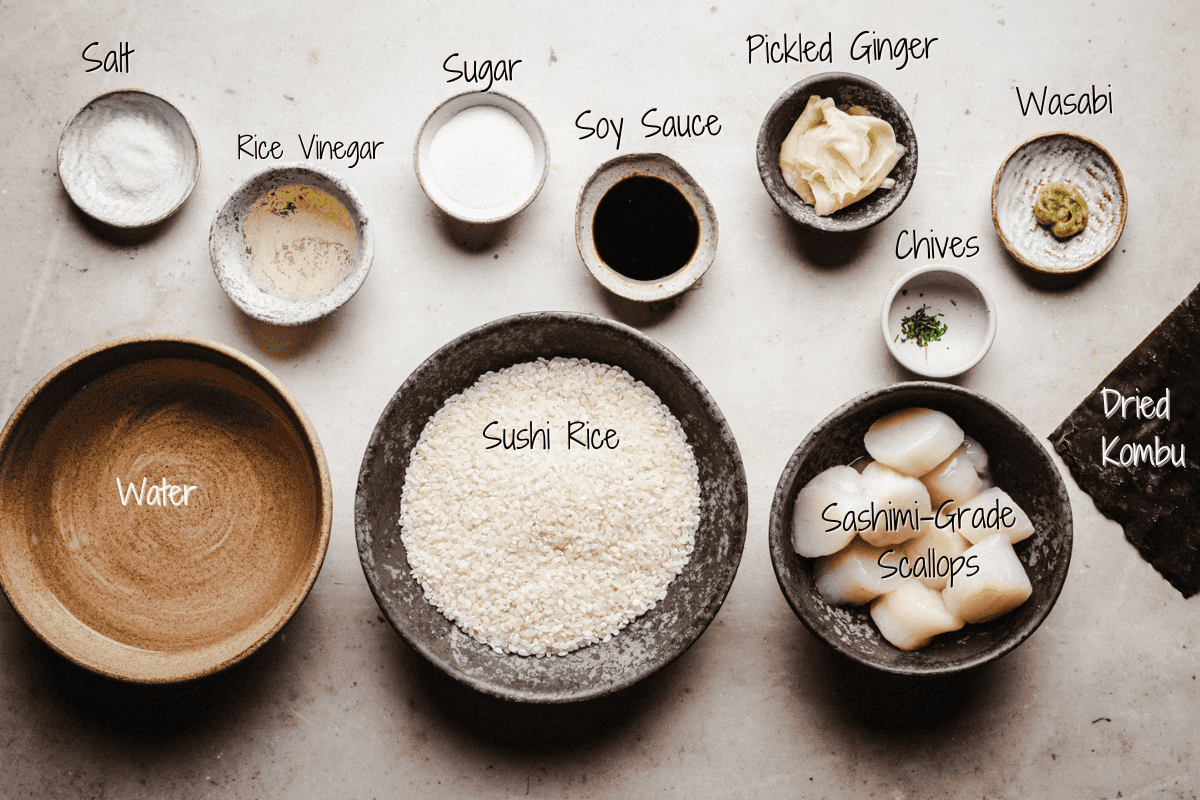
Scallop Nigiri Ingredients
For the Sushi Rice:
- Sushi Rice: Short-grain white rice, ideally in a package labeled “sushi rice”.
- Water: Fresh, filtered water works best.
- Rice Vinegar: Look for unseasoned rice vinegar instead of “seasoned” rice vinegar that already has sugar and salt added.
- Granulated Sugar or Honey: Both balance the vinegar’s acidity and I use them interchangeably.
- Fine Sea Salt: Fine sea salt dissolves quickly and gives the rice a cleaner, more balanced flavor than regular table salt.
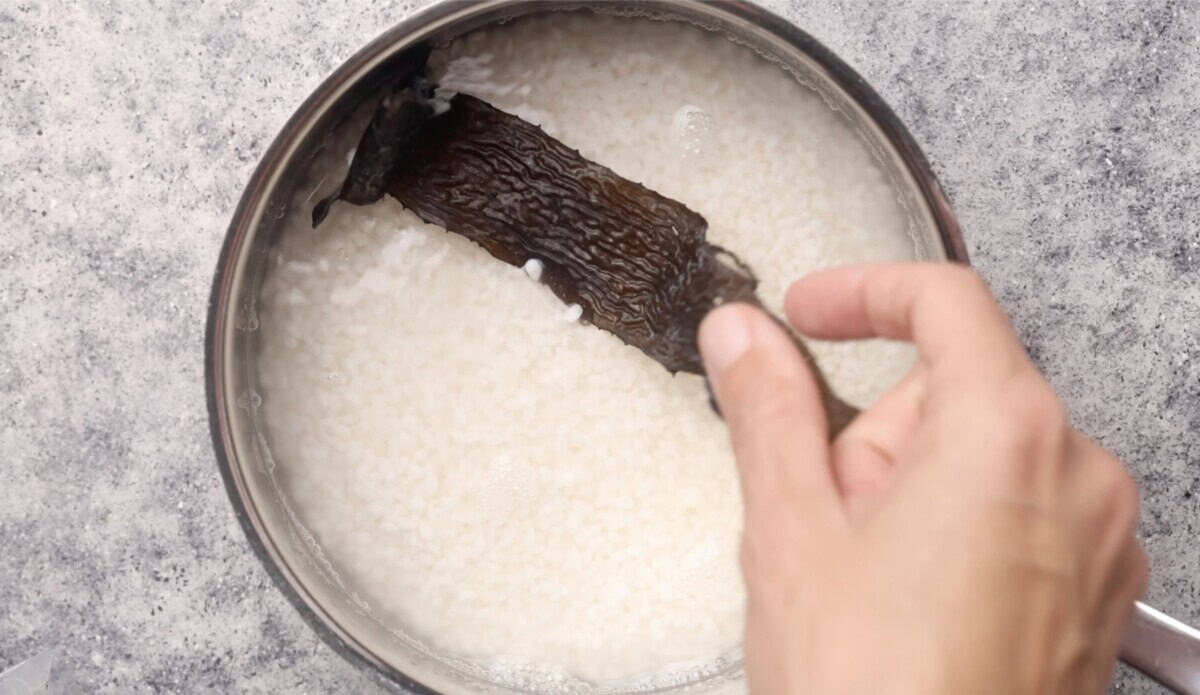
- Dried Kombu: This edible seaweed adds umami to the rice. You can find it at Asian markets or in the international food section of most grocery stores. If it comes in strips instead of squares, just use a few strips.
For Making the Nigiri:
- Minced Chives (optional): For garnish, finely chopped chives add a pop of color and a mild onion flavor.
- Sashimi-Grade Sea Scallops: Look for large, fresh sea scallops labeled as sashimi-grade. Dry-packed scallops are best for nigiri as they hold up better and have a cleaner taste.
- Wasabi: Prepared wasabi paste works well for home sushi making and keeps in the fridge. Just a little goes a long way, especially with the delicate flavor of scallops.
- Pickled Ginger: You’ll find this in jars in the Asian food section. Look for the natural pale pink or off-white versions. The overly bright pink variety is artificially colored.
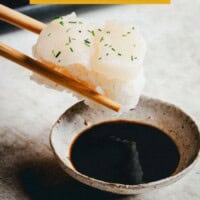
- Soy Sauce or Sea Salt: A small dish of soy sauce is a classic dip for nigiri, but sea salt is another great option to highlight the fresh flavor of scallops.
Why This Recipe Works
- Butterfly cut over slicing: Creates a wider surface that drapes naturally over rice.
- Rice ratio tested: A heaping tablespoon of rice per piece keeps it balanced.
- Visual impact: Even a simple garnish makes them look sushi-bar polished.
How to Make Scallop Nigiri
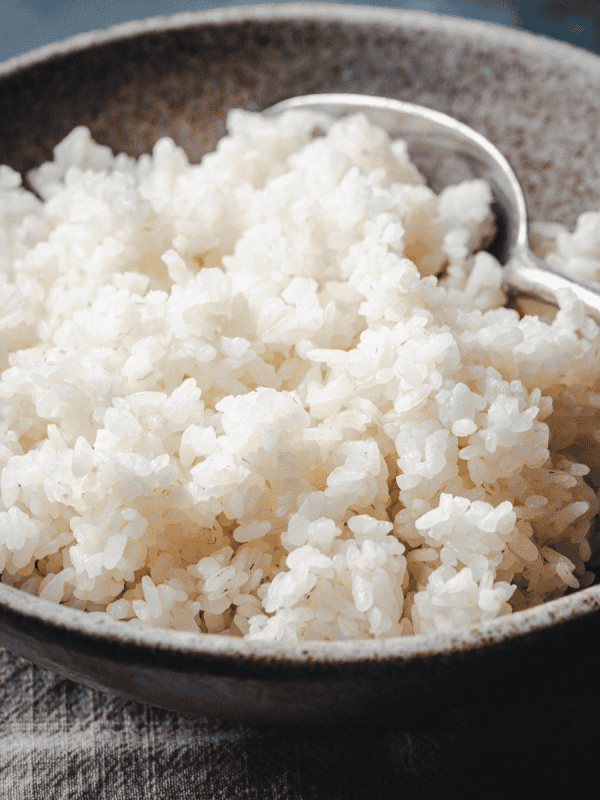
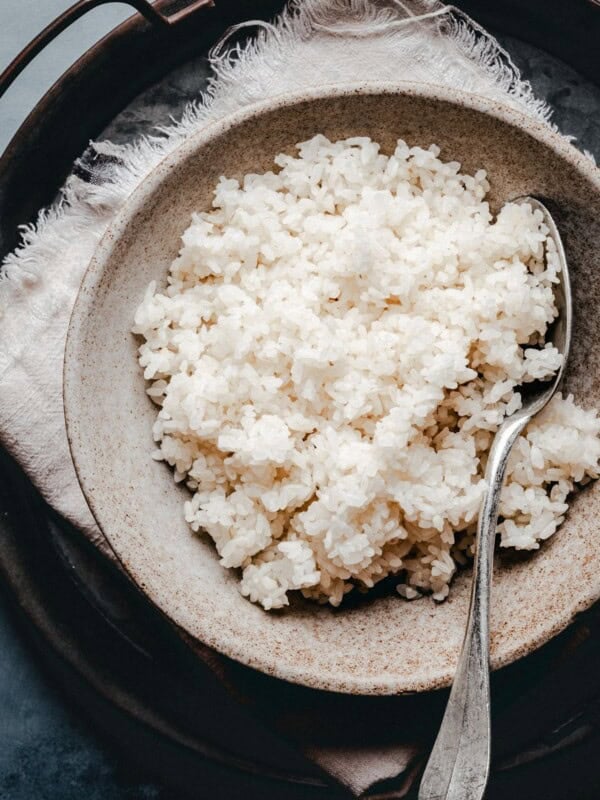
1. Make the rice
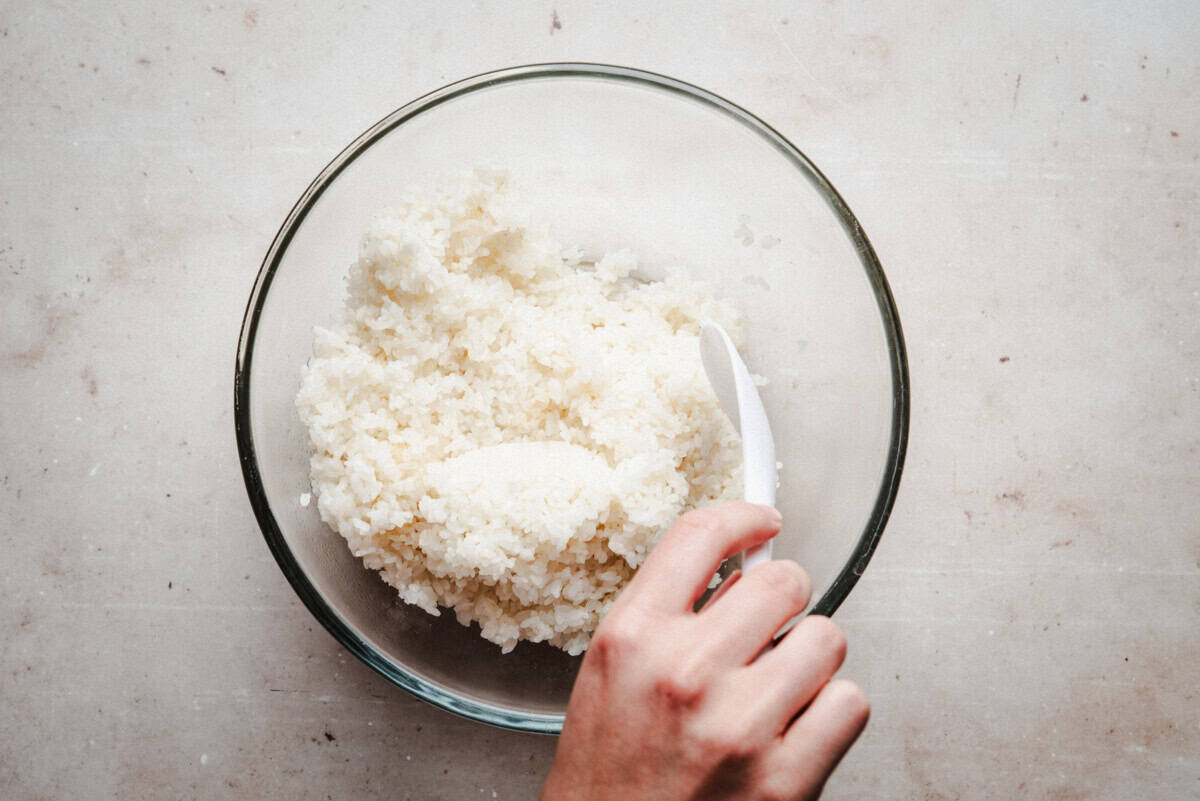
Rinse the sushi rice thoroughly, soak it for 15 minutes, and cook with a piece of kombu. After steaming, fold in the vinegar seasoning and let it cool, covered with a damp towel.
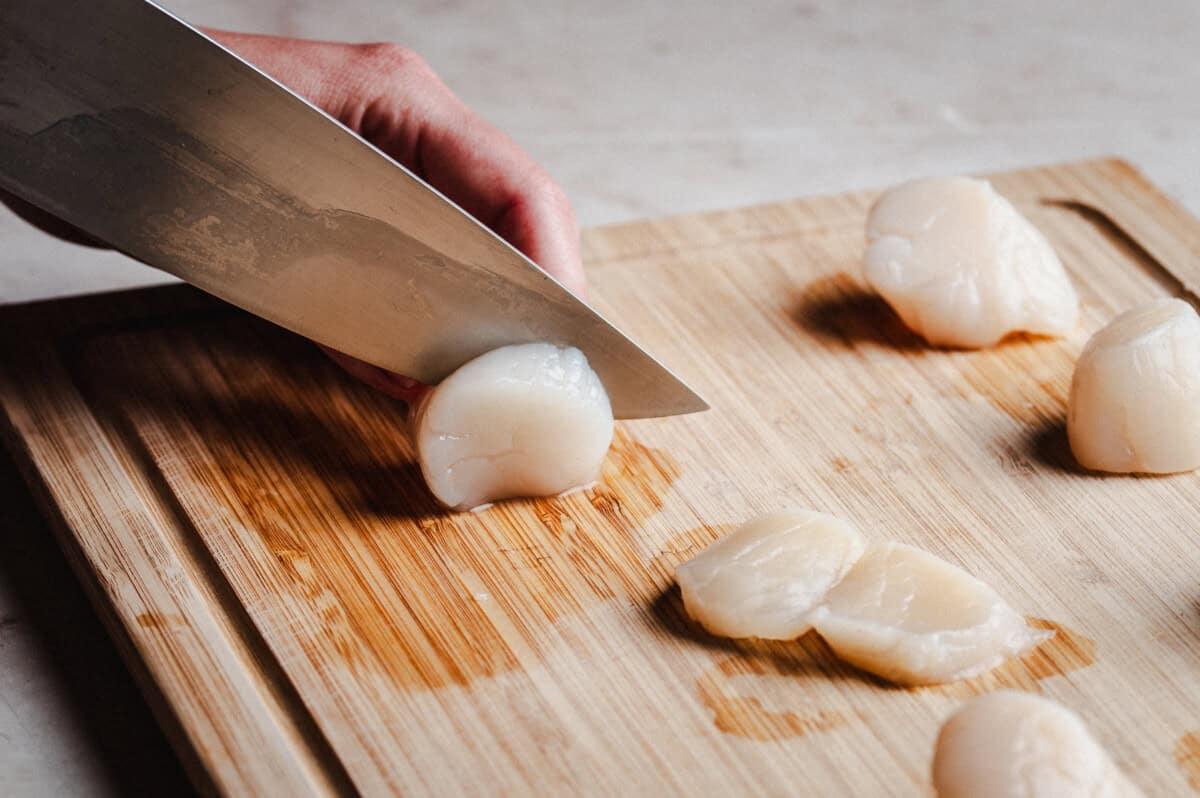
2. Prepare the scallops
Pat scallops very dry and keep cold. Butterfly each scallop horizontally so it opens like a book, or slice all the way through to create two thinner rounds.

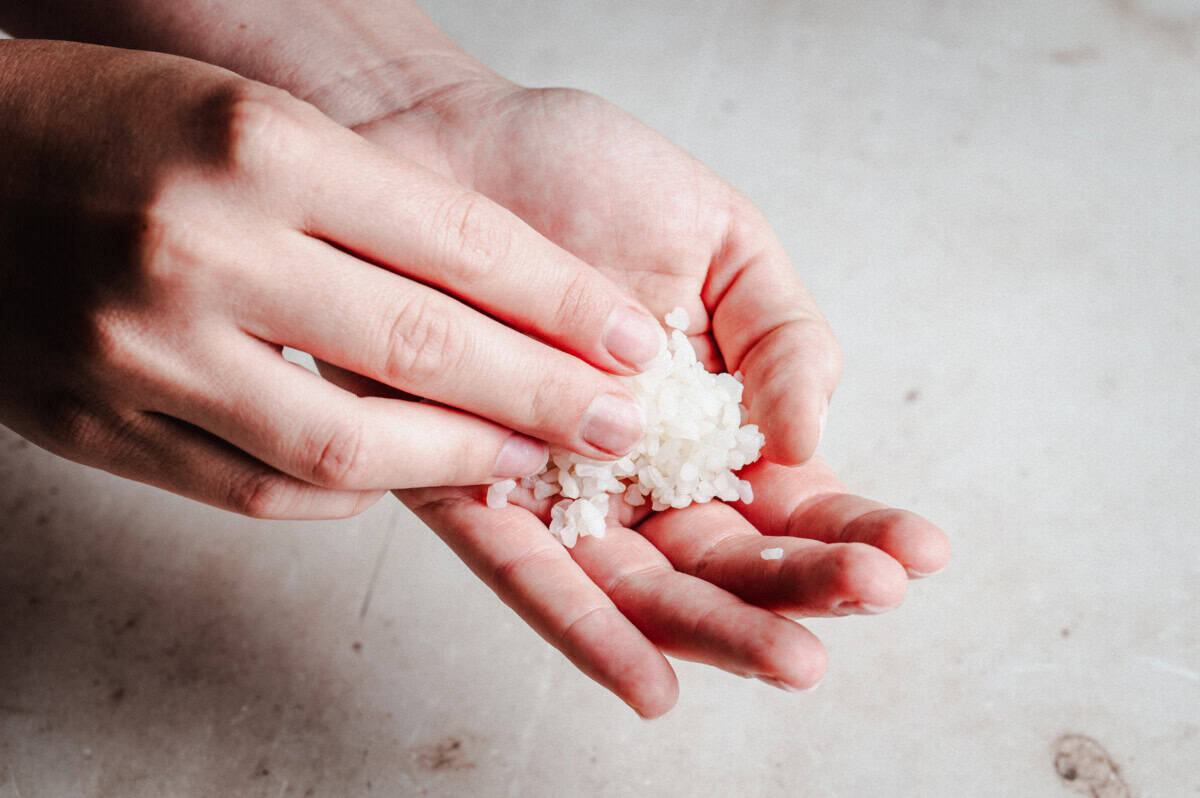
3. Shape, assemble and serve
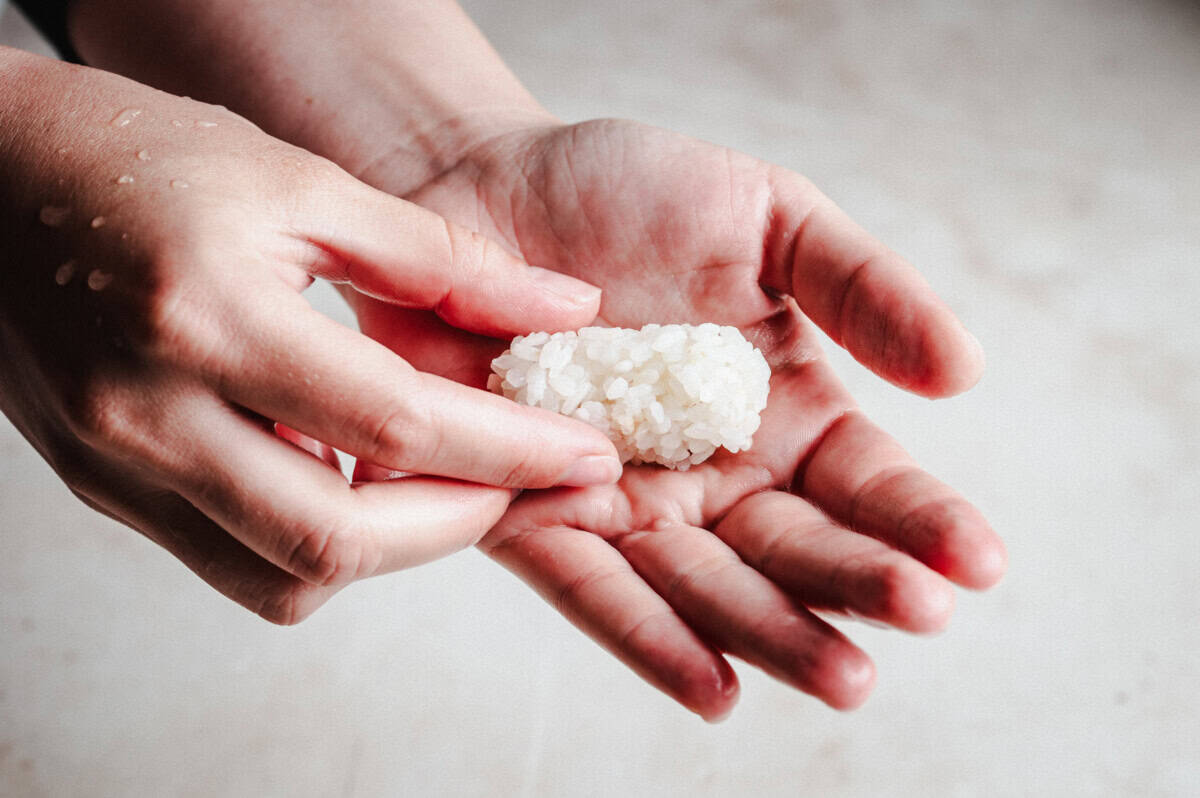
Wet your hands with water and a splash of vinegar. Scoop about 1 tbsp of rice and shape it into a small oval. Dab with wasabi if using, then top with the scallop. Press gently so it holds together without flattening the rice. Top with minced chives if you like. Serve immediately with pickled ginger and soy sauce or sea salt.


6 Pro Tips
- Buy “Dry” Scallops: Look specifically for “dry-packed” scallops, not “wet” ones. Wet scallops have been treated with a preservative solution that changes both their flavor and texture when eaten raw. I’m speaking from experience after making my first batch with wet scallops. The difference in flavor and texture is noticeable and not in a good way.
- Size Matters: Larger sea scallops (U-10 or U-12 per pound) work best for nigiri. Their natural sweetness is more pronounced, and they’re easier to slice evenly. I splurge on the best I can find for nigiri – it’s worth it.
- Pat Completely Dry: Remove all excess moisture from scallops with paper towels before slicing. You’ll be rewarded with clean cuts and rice that doesn’t get soggy.
- Butterfly Instead of Slice: Unlike fish nigiri where you cut thin slices, scallops are prettier when butterflied horizontally. This creates one piece that’s connected on one side and drapes elegantly over the rice.
- Temperatures Matter: Scallops should be very cold when sliced but served closer to room temperature. Their delicate sweetness is more pronounced when not ice-cold. I give them about 5 minutes on the plate before serving.
- Try Salt Instead of Soy: While soy sauce works with all nigiri, scallops uniquely benefit from a light sprinkle of flaky sea salt instead, which enhances their natural sweetness without masking it. This is actually my preferred way to enjoy scallop nigiri now – it lets you taste the ocean in every bite.
Recipe Variations
- Add a Light Citrus Touch: A tiny drop of fresh lemon or lime juice brings out scallops’ sweetness. Use a light hand – just a drop is enough.
- Yuzu Kosho Alternative: I’ve recently discovered this Japanese citrus-chili paste, it’s so good. Just a small dot can replace wasabi for a bright, complex flavor that pairs really well with scallops.
- Micro Greens Garnish: A few delicate micro greens like micro cilantro or pea shoots make a beautiful garnish and add a fresh contrast to the scallops’ buttery texture.
Prep and Storage
- Sushi Rice: The rice is best used within 4 hours. Keep it at room temperature under a damp cloth – refrigeration will make it hard and unpleasant.
- Scallop Nigiri: Of all nigiri types, scallop is the most perishable once assembled. Try to enjoy these immediately or within an hour of making. They really don’t hold up well to storage.
- Extra Scallops: Raw scallops that haven’t been sliced should be wrapped tightly and used within 24 hours. Keep them in the coldest part of your refrigerator, typically the back of the bottom shelf.
- Prep Ahead: You can make the sushi rice a few hours ahead of time (kept at room temp under a damp cloth), but I recommend preparing the scallops right before serving. This gives you the freshest flavor and best texture.
FAQ
Look for sashimi-grade, dry-packed sea scallops from a trusted fishmonger. They should smell clean and be firm to the touch.
Wet-pack scallops are soaked in preservatives that affect flavor and texture. Dry-pack is natural, and the difference is obvious in raw dishes.
Use a very sharp knife to slice almost all the way through horizontally, leaving one side intact. This creates a wider, elegant shape.
A heaping tablespoon, or about 15 grams. It should hold shape without overpowering the topping.
Only if labeled sashimi-grade and flash-frozen. Thaw overnight in the fridge and pat completely dry.
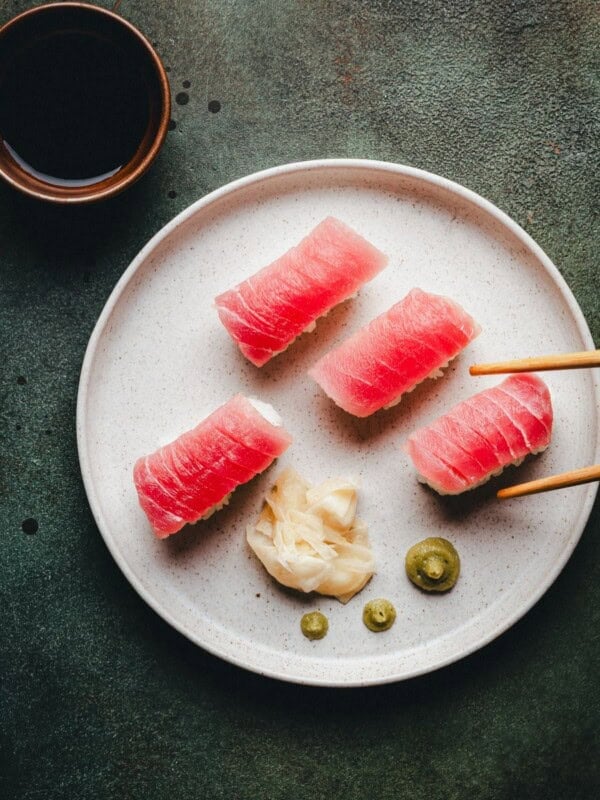
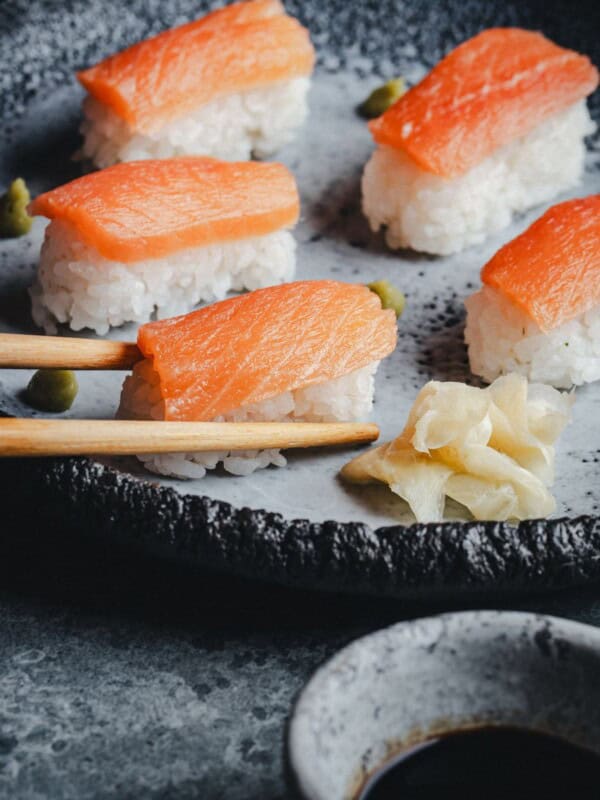
Scallop Nigiri offers a refreshing change from the usual fish options. The natural sweetness and delicate texture of the scallops need little more than a simple butterflying technique. It’s surprising how such a small detail makes the nigiri look like it came from a high-end sushi bar. The warm rice enhances the scallops’ sweetness in every bite. If you’re looking to branch out from the usual salmon and tuna nigiri, this is a delicious next step.
More Must-Try Sushi Recipes
Scallop Nigiri

Video
Ingredients
For the Sushi Rice
- 1 1/2 cups sushi rice (short-grain white rice)
- 1 2/3 cups water
- 3 tablespoons rice vinegar
- 4 teaspoons granulated sugar or 1 tablespoon honey
- 3/4 teaspoon fine sea salt
- 1 piece dried kombu 4-by-4-inch piece
For Making the Nigiri
- 10 sashimi-grade sea scallops
- wasabi to taste
- pickled ginger for serving
- soy sauce or sea salt, for serving
- minced chives for garnish, optional
Instructions
To Make the Sushi Rice
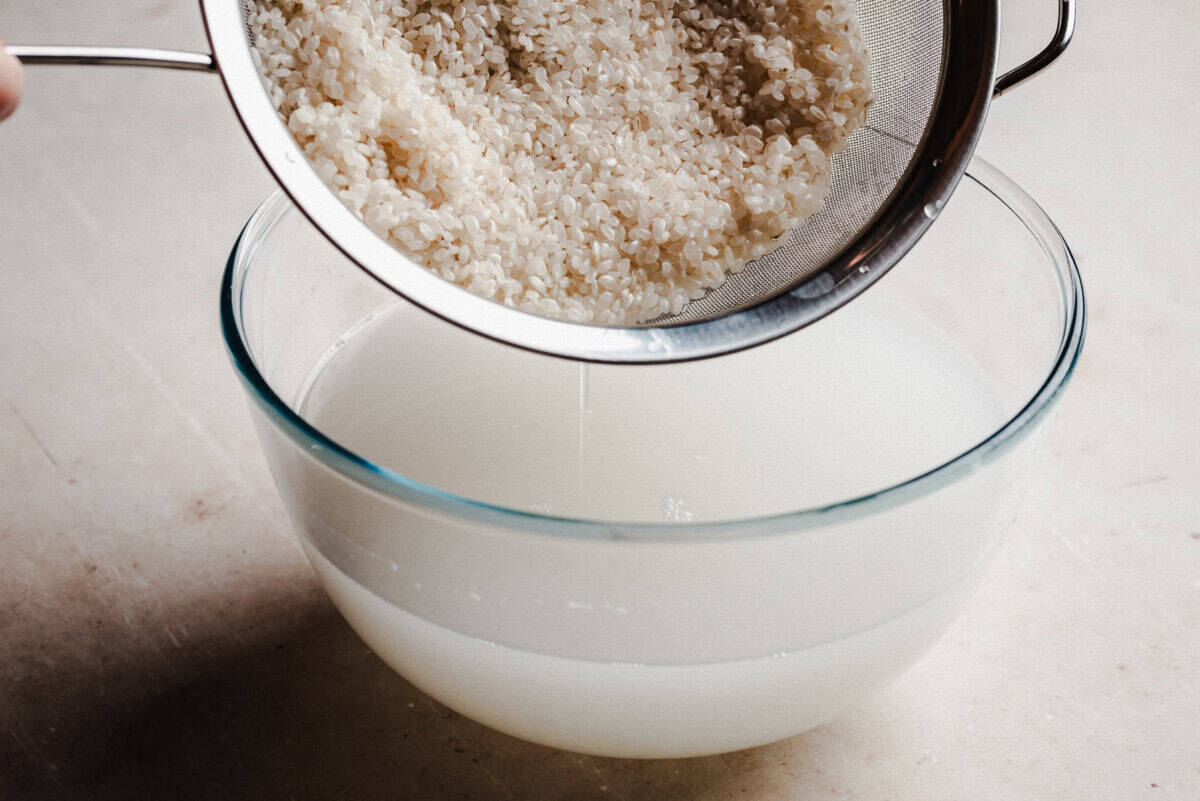
- Place the rice in a fine-mesh strainer set over a bowl. Rinse under cool running water, gently stirring the grains with your fingers. When the water in the bowl turns cloudy, lift out the strainer and pour off the water. Repeat until the water runs clear.
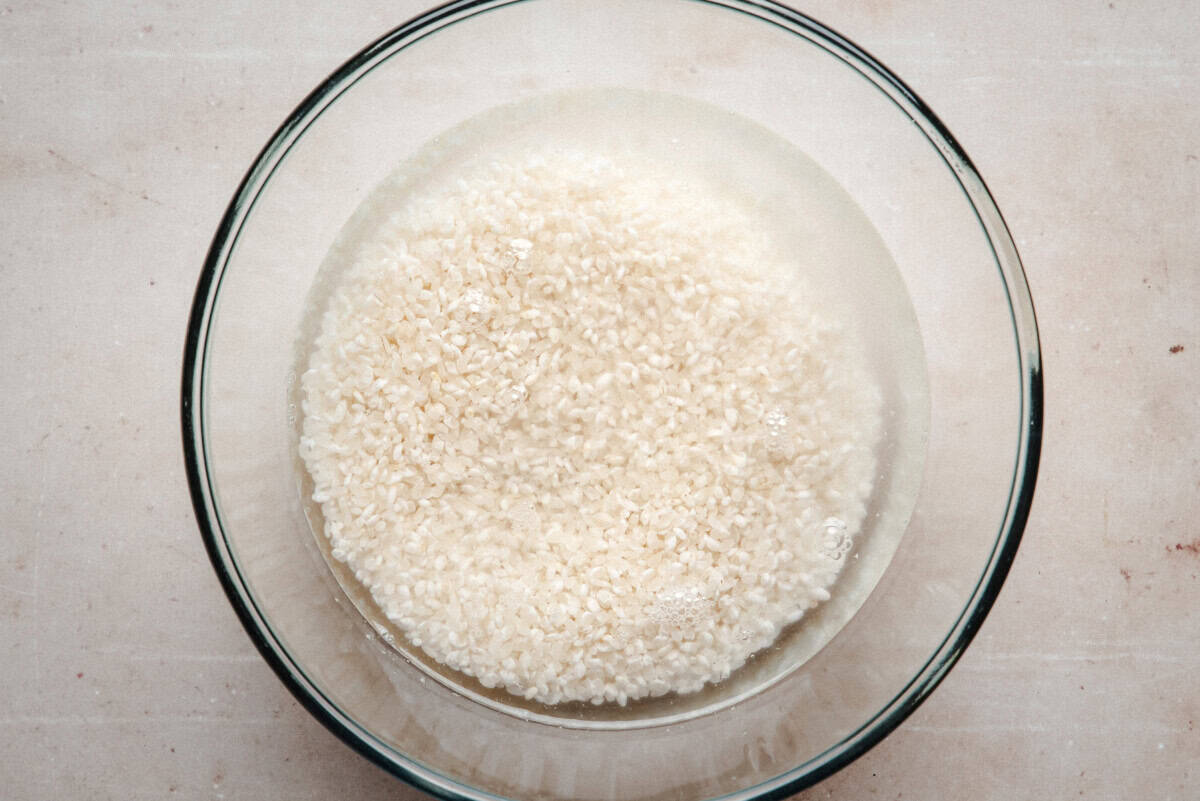
- Transfer the rinsed rice to a medium bowl and add the measured water. Let it soak for 15 minutes at room temperature.
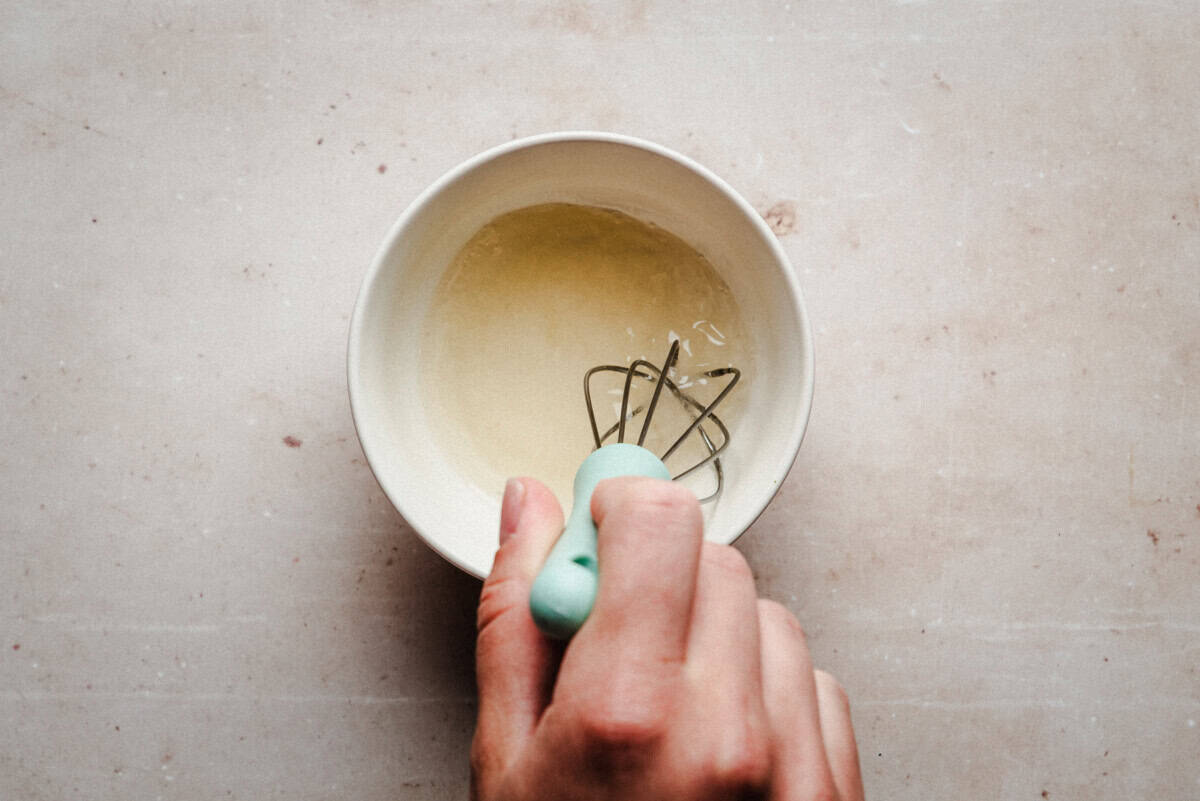
- While the rice soaks, combine the vinegar, sugar, and salt in a small bowl. Stir until dissolved, then set aside.
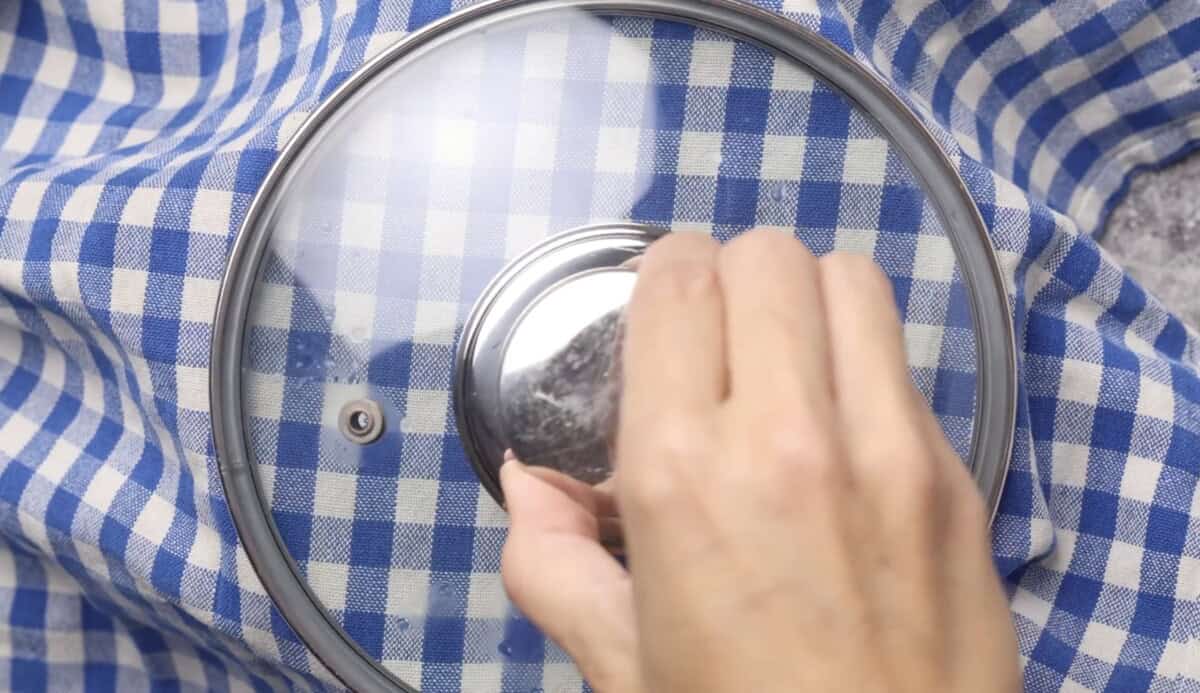
- Pour the rice and soaking water into a heavy saucepan and add the kombu. Cover and bring to a boil over high heat. Once boiling, lower the heat and simmer for 10 minutes. When the water is fully absorbed, take the pot off the heat and place a clean kitchen towel under the lid. Let the rice steam for 10 more minutes.
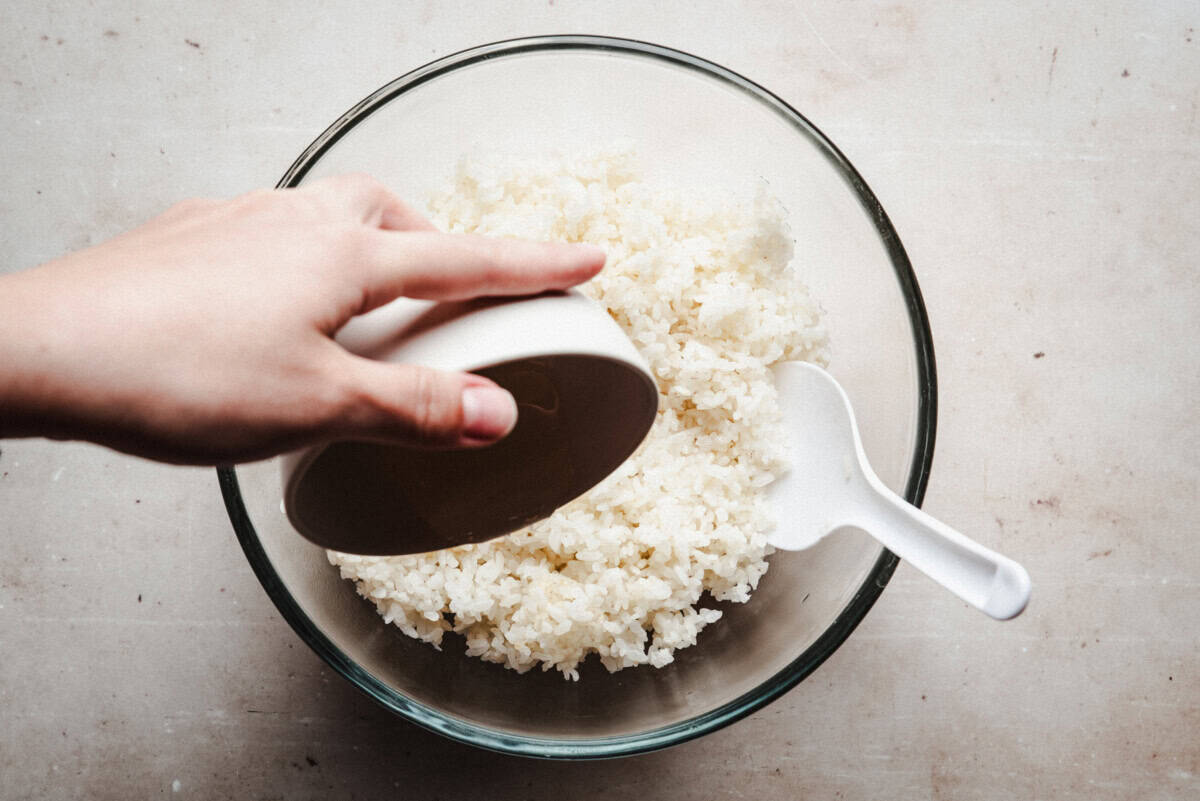
- Remove the kombu and gently transfer the rice to a wide bowl. Pour the vinegar mixture over the hot rice and fold it in with a rice paddle, using light, slicing motions to avoid crushing the grains. Cover with a damp towel and let cool to room temperature before forming your nigiri.
To Make the Scallop Nigiri
- Use sashimi-grade sea scallops—dry-packed and as fresh as possible. Pat them dry with a paper towel and keep them cold until you’re ready to slice. Place one scallop flat on a cutting board and carefully butterfly it by slicing it horizontally, almost all the way through, so it opens like a book. You’ll end up with one wide, thinner piece that’s still connected on one side. You can also slice all the way through for two separate rounds.
- Wet your hands and scoop a heaping tablespoon of sushi rice into your palm. Gently shape it into an oval mound.
- Spread a small dab of wasabi over the center of the rice if you like, then lay the butterflied scallop over it. Lightly press to help it hold together without flattening the shape. Place on a serving plate.
- Repeat with the remaining scallops and rice. Serve with pickled ginger, a small dish of soy sauce or sea salt, and wasabi on the side.
Notes
- Use dry-packed scallops labeled sashimi-grade or sushi-grade. They should smell like the ocean, not fishy.
- Pat scallops dry before slicing; this helps them hold their shape and keeps the rice from getting wet.
- When scallops are very large, I like to slice each scallop in half horizontally to make two pieces of nigiri.
- Wet your hands with water and a splash of vinegar so the rice doesn’t stick.
- If you’re new to nigiri, don’t worry about making perfect shapes. Just aim for bite-size and gently packed.
- Best eaten the same day, but leftovers keep covered in the refrigerator up to 24 hours.
Nutrition
Nutrition information is automatically calculated, so should only be used as an approximation.